I was recently asked about how I go about reflow soldering, so I decided to do a quick write-up on my oven and process. I bought this oven several years ago on eBay, and you can still find them today. While I did consider the modified toaster oven route, in the end I decided that a box that was purpose-built for reflow was a better choice in the long run.
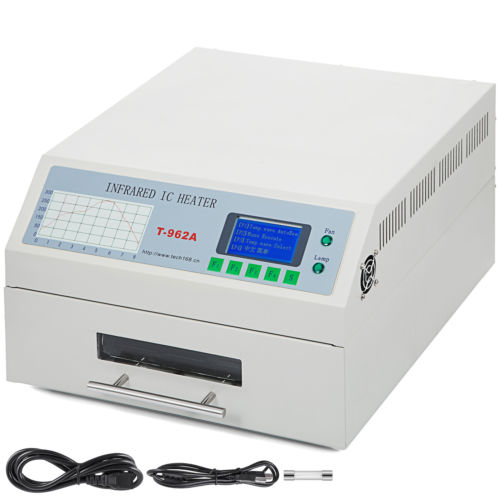
The Oven
The oven itself is little more than a toaster oven on steroids. It has four heating elements inside, and a large fan in the back. There is a 320mm x 300mm drawer where your PCBs sit. Two thermocouples come down from the top of the chamber for temperature measurement.
The front panel is pretty simple, just a dot matrix screen with five buttons and two LED indicators. I won’t go into the stock firmware or control board, as I found them unsatisfactory and I never used them much.
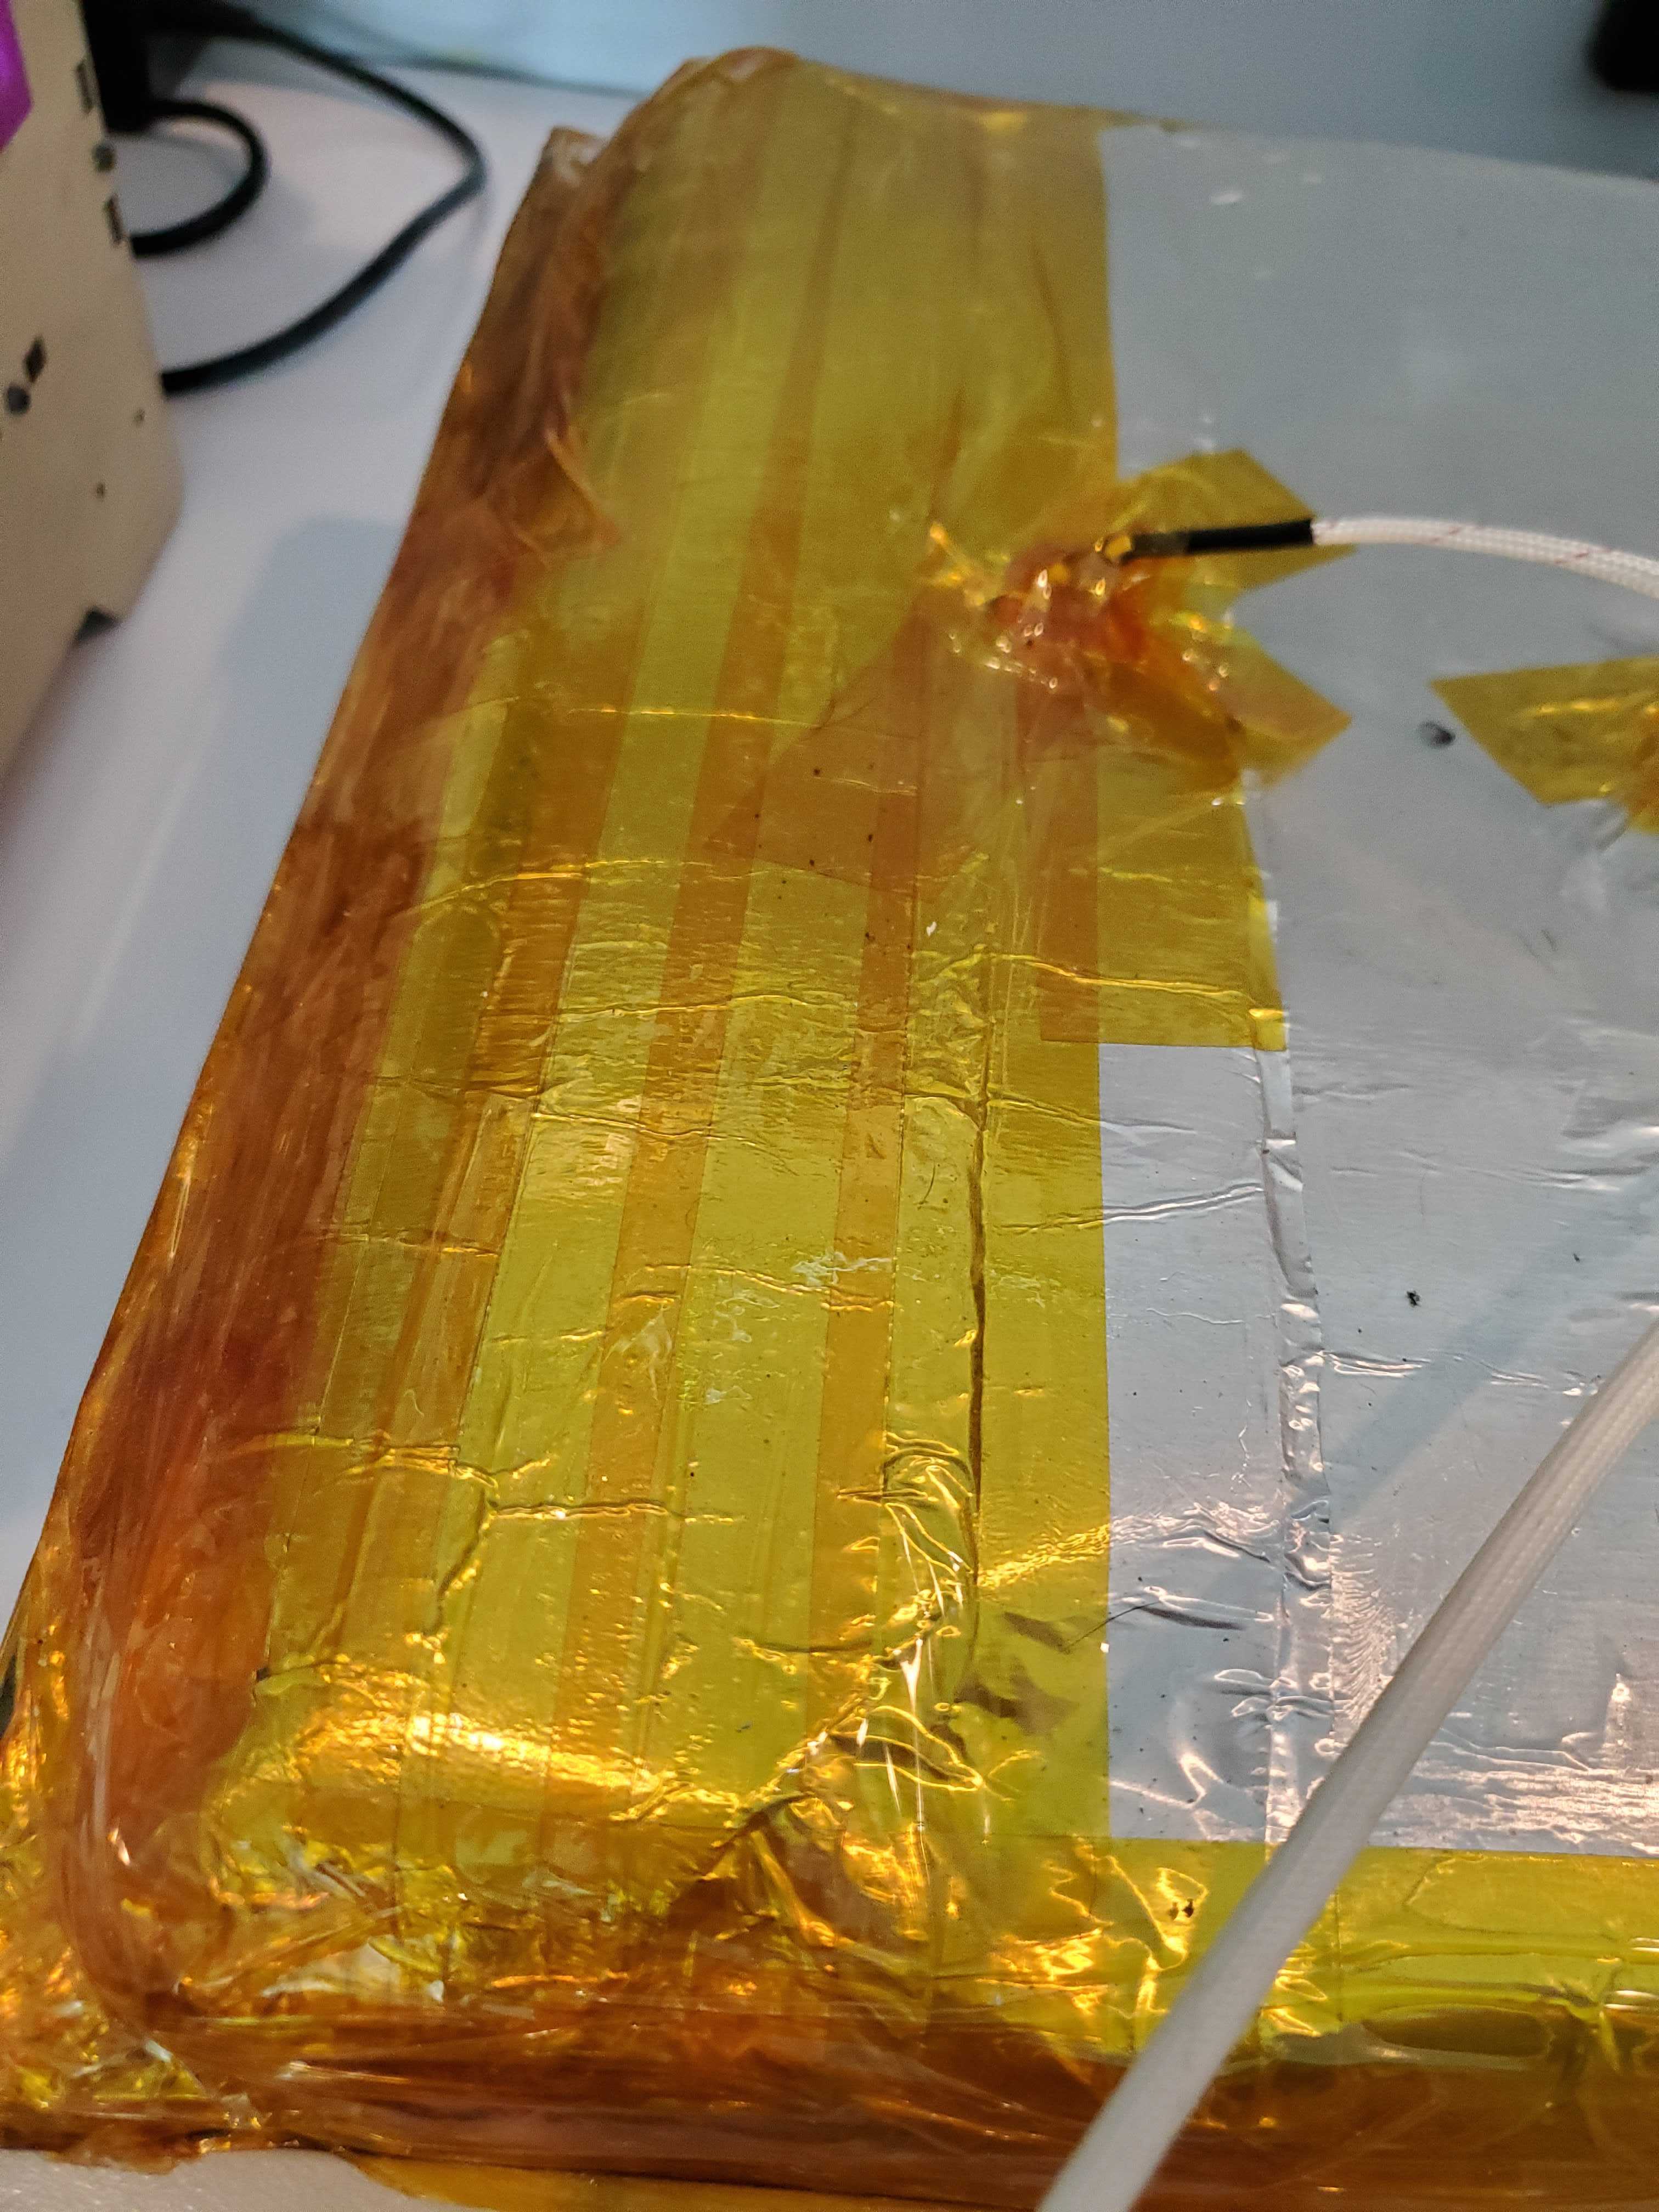
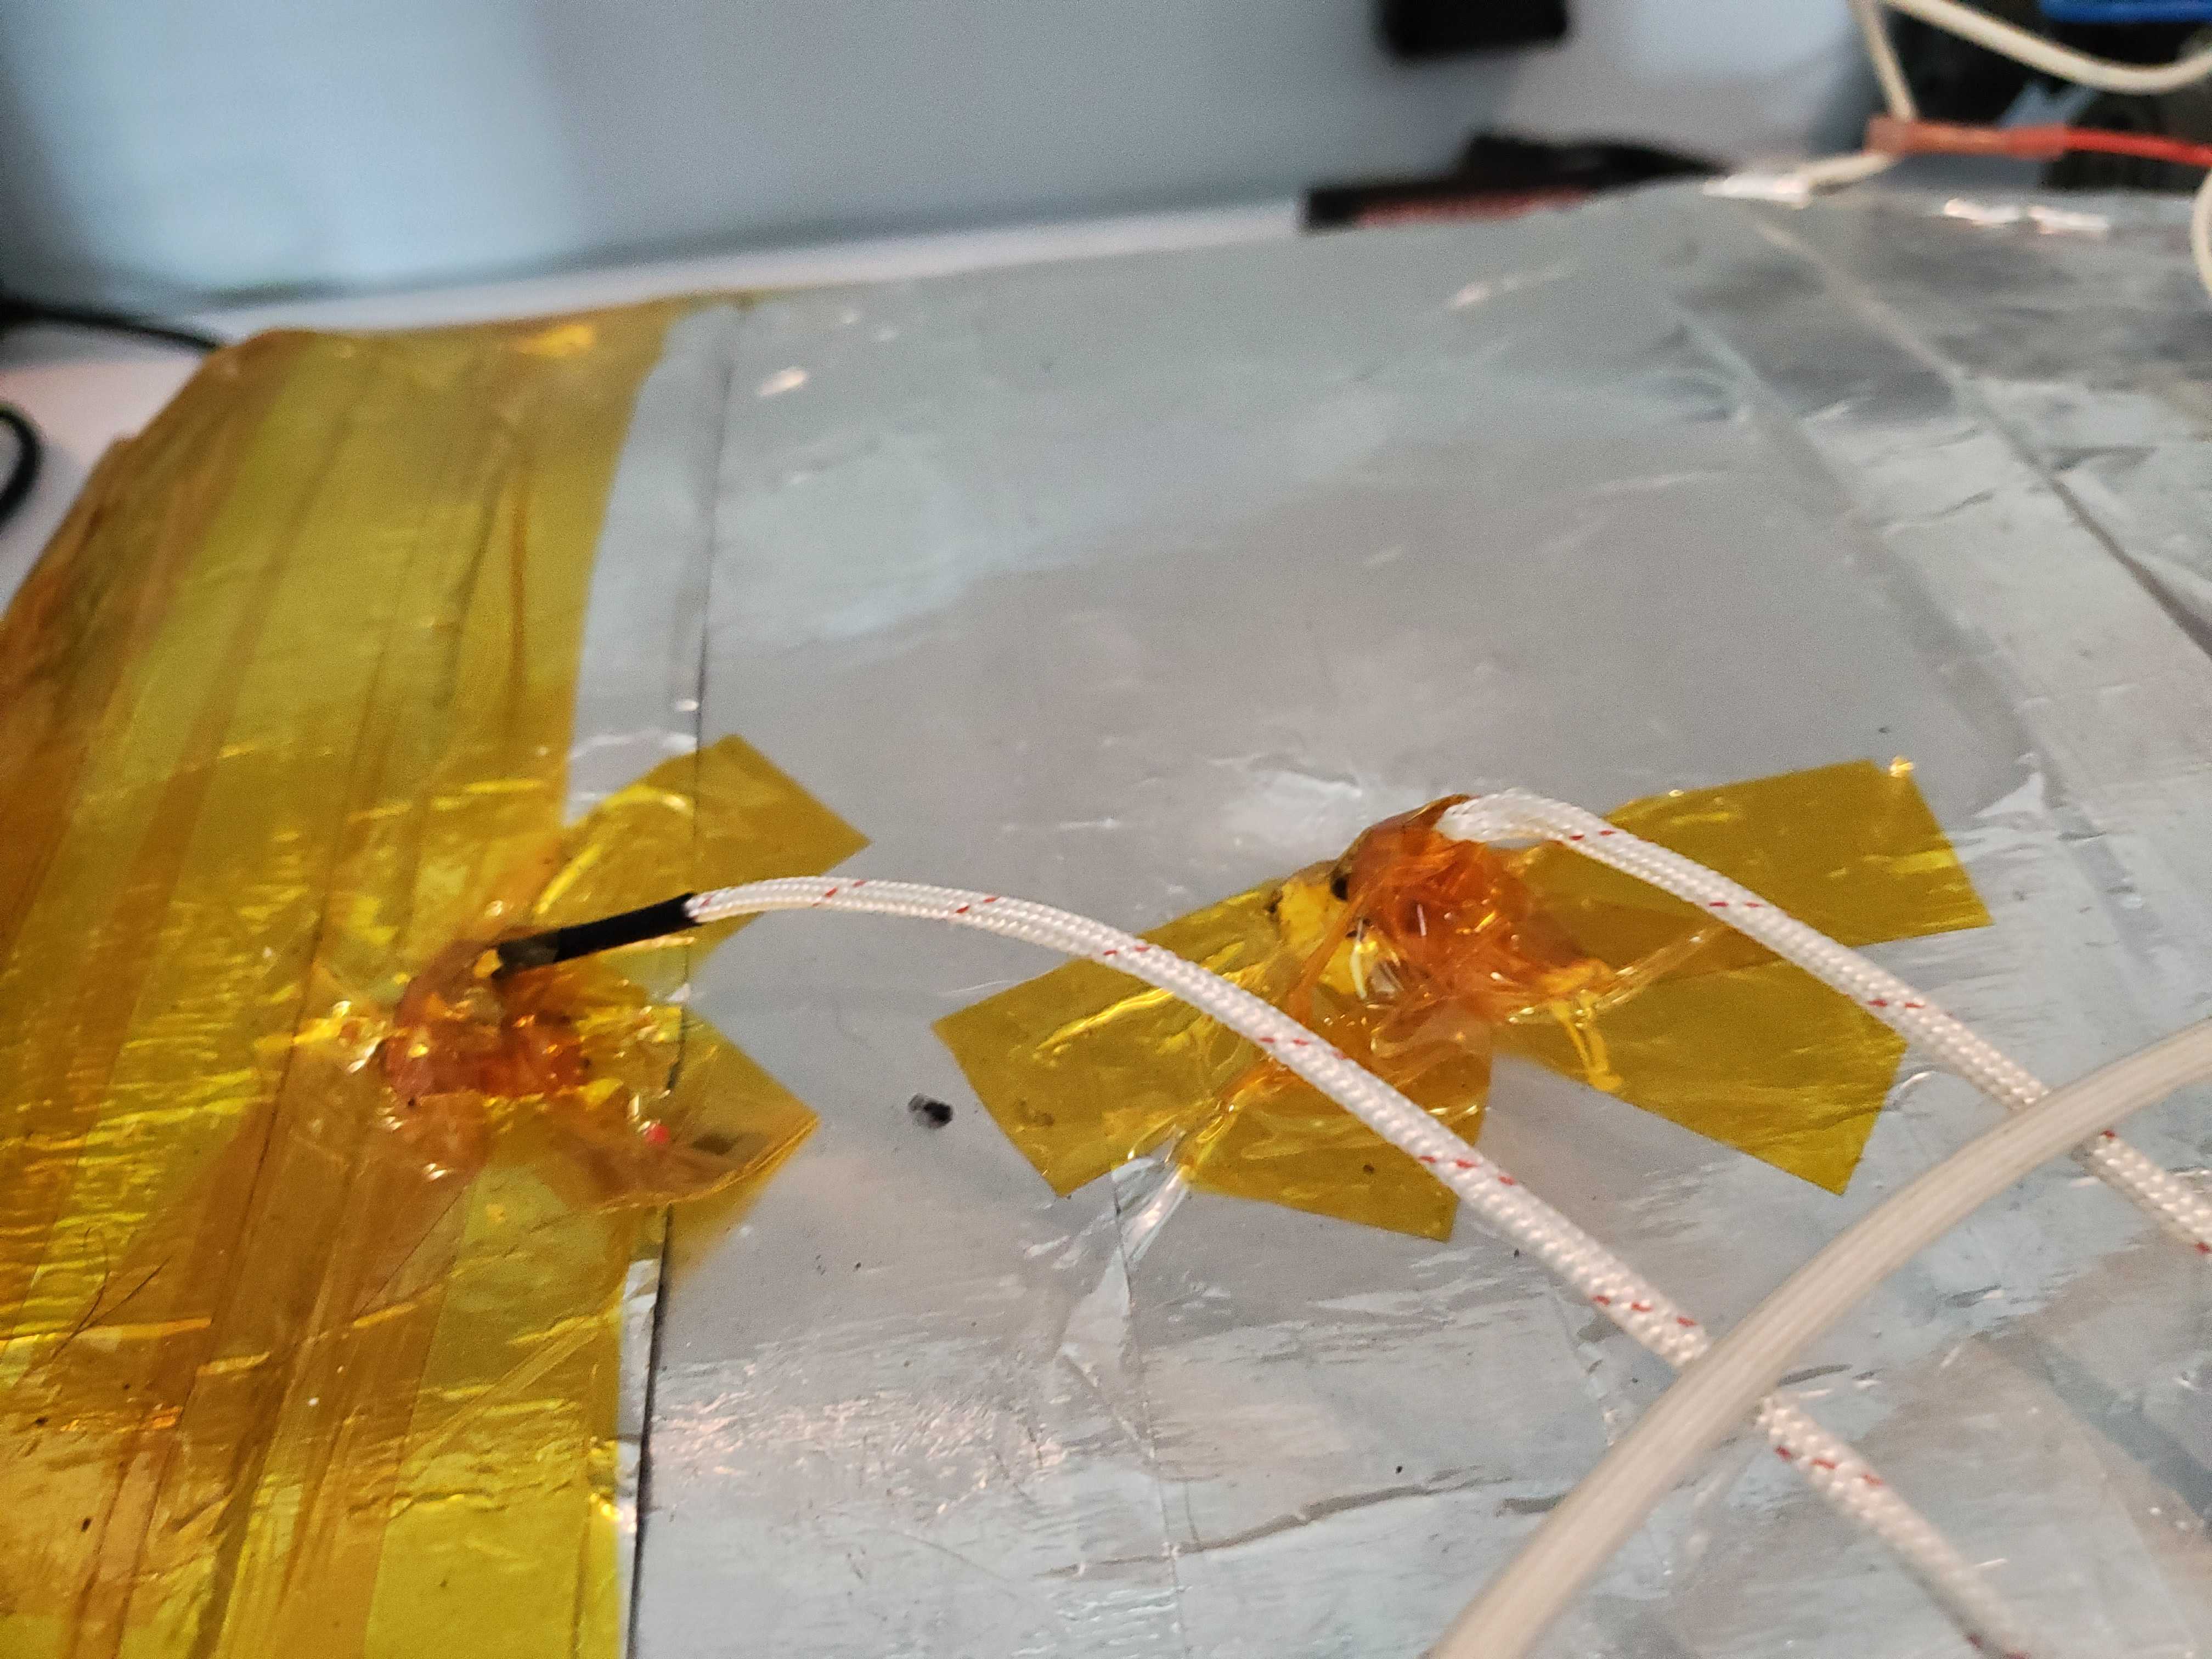
At the time I bought my oven, they came pretty much unusable, owing to the fact that they used low-quality masking tape inside the oven that tends to give off a rather unpleasant odor upon first use. The tape is in place to keep the oven insulation sealed. This issue is solved by opening up the oven and replacing the masking tape with Kapton or some other heat-resistant tape.
The next issue to overcome was the rather limited control board that came with the oven. While it seems that some versions of the board were equipped to operate the fan and heating elements separately, this one had several footprints unpopulated (what seems like a triac circuit) and instead the fan and heating elements were driven together, making temperature control difficult.
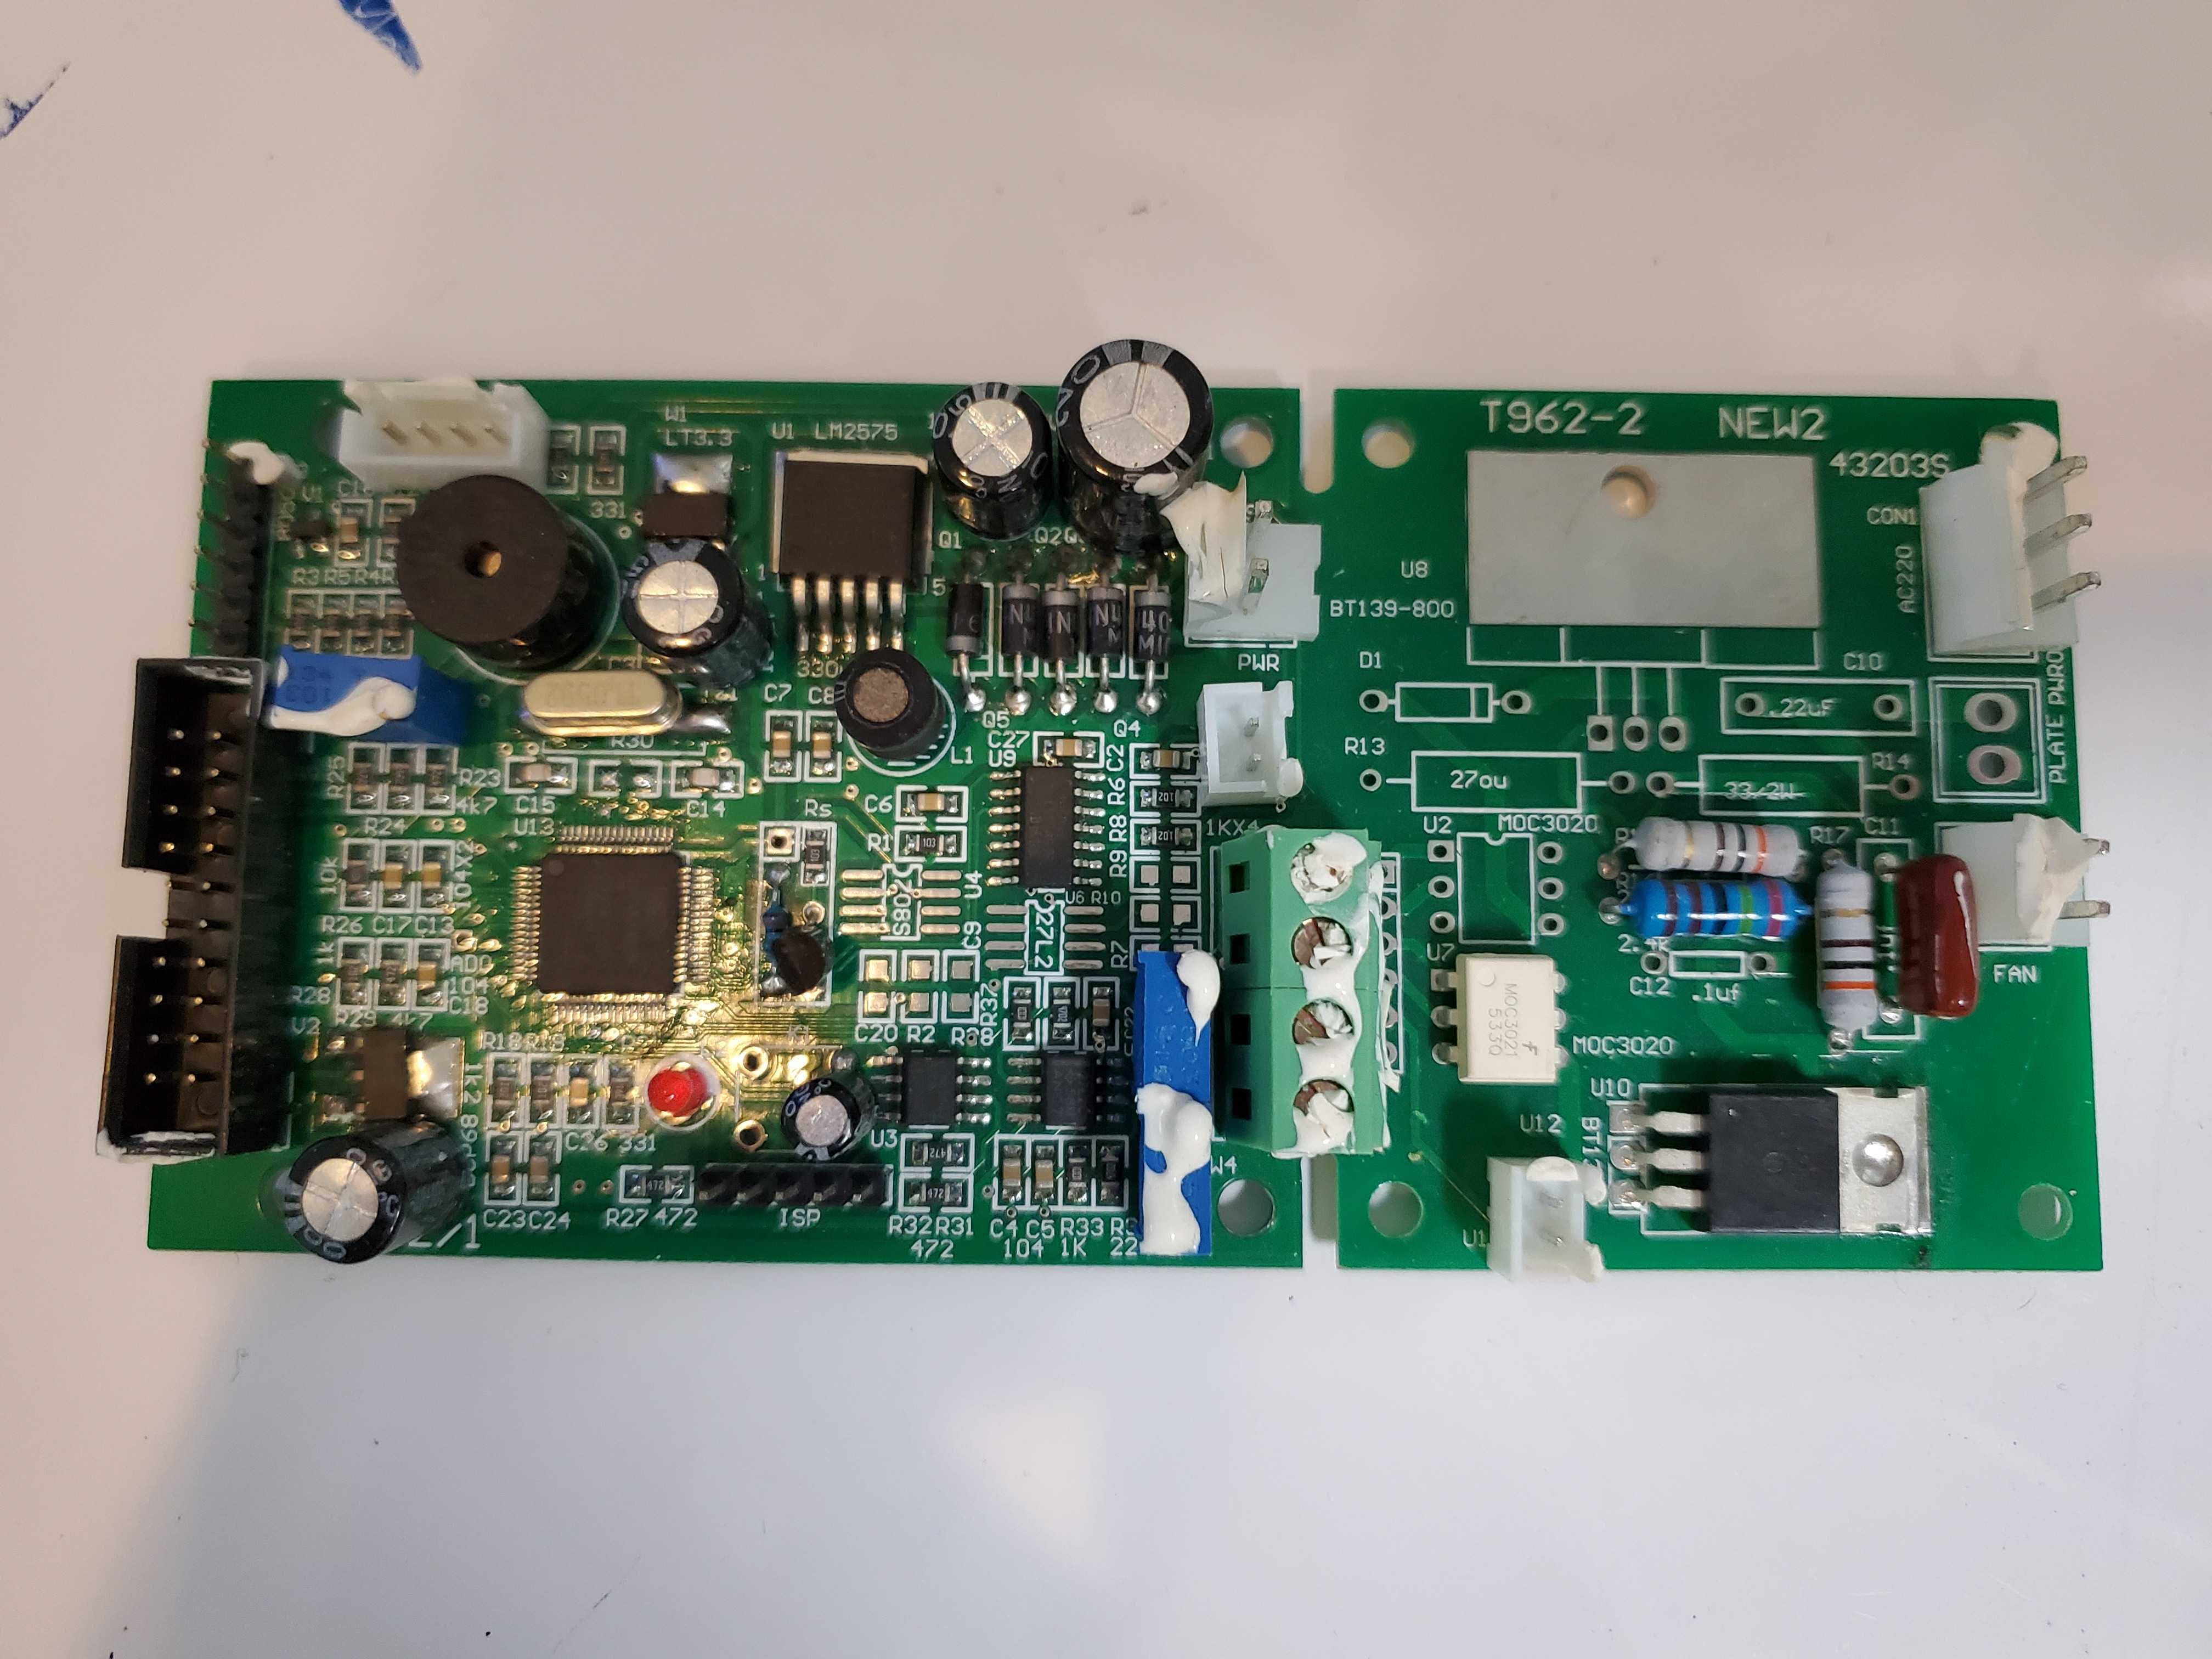
I sort of knew going into this oven that I would want to either purchase or design my own control board, so I set out to do the latter (the available third-party control board kits were rather expensive at the time). I created a simple Arduino-based control board that had most of the same features as the original board: display, thermocouple amplifiers, and solid-state relay drivers.
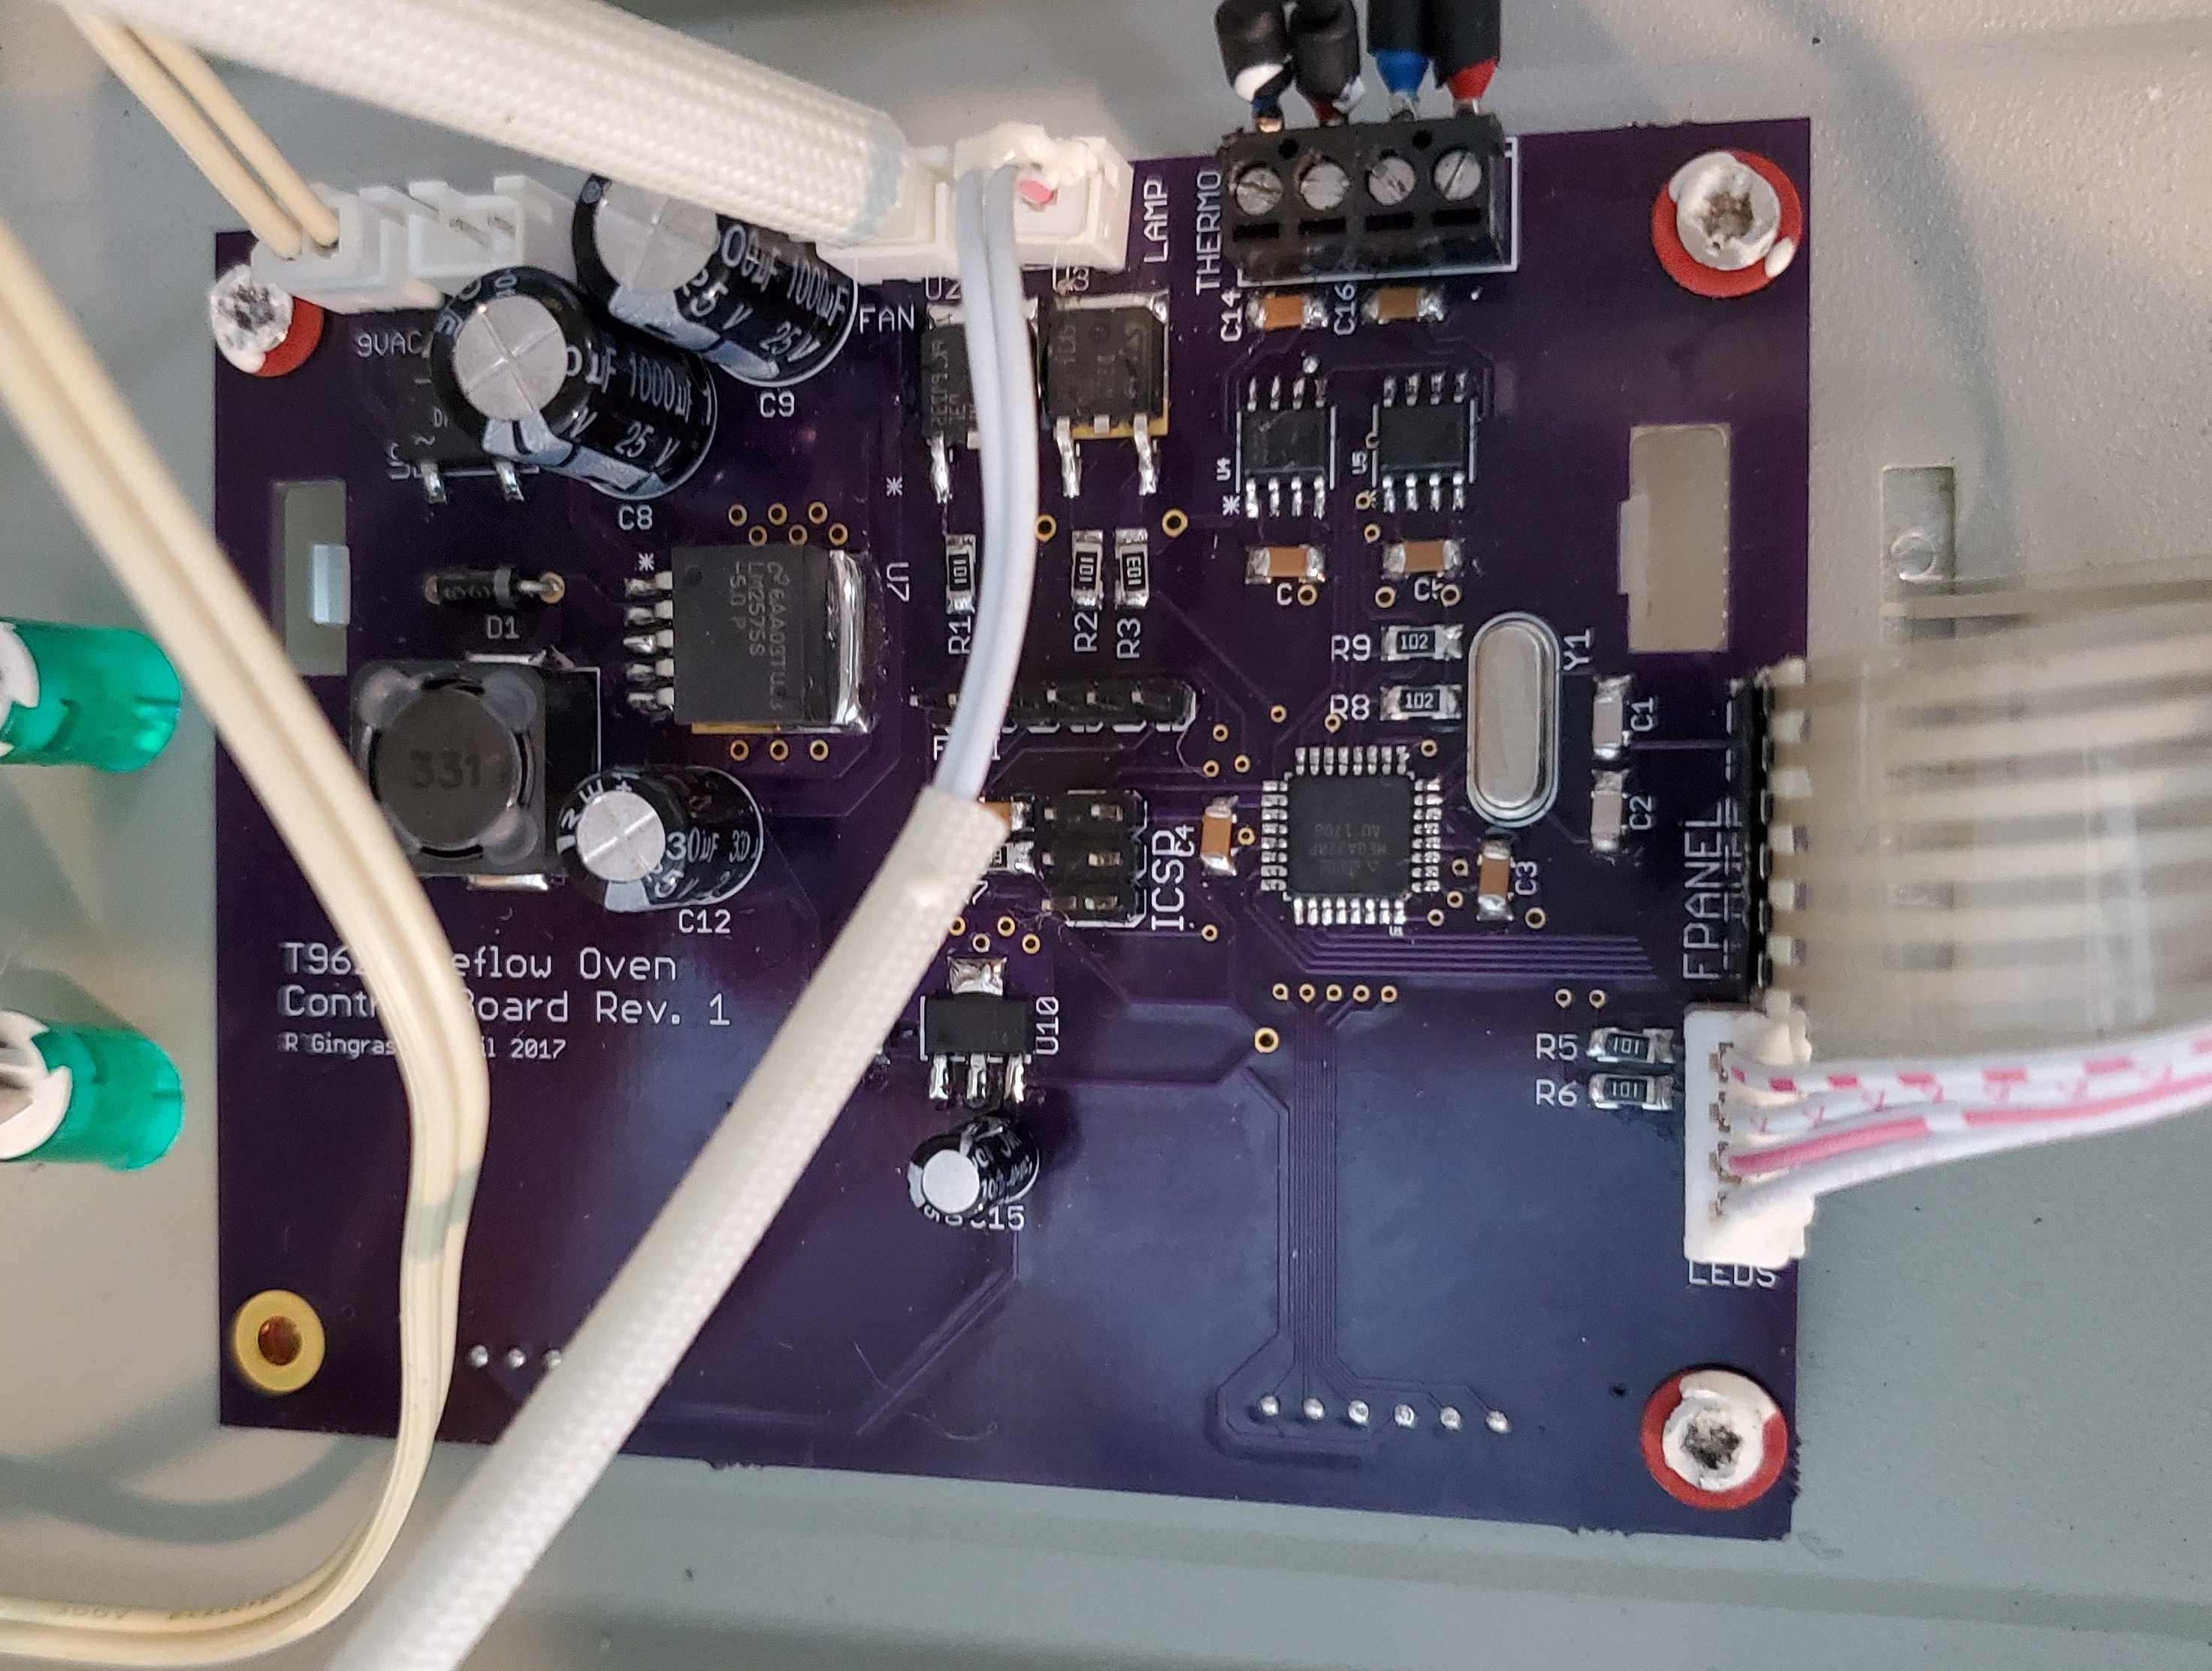
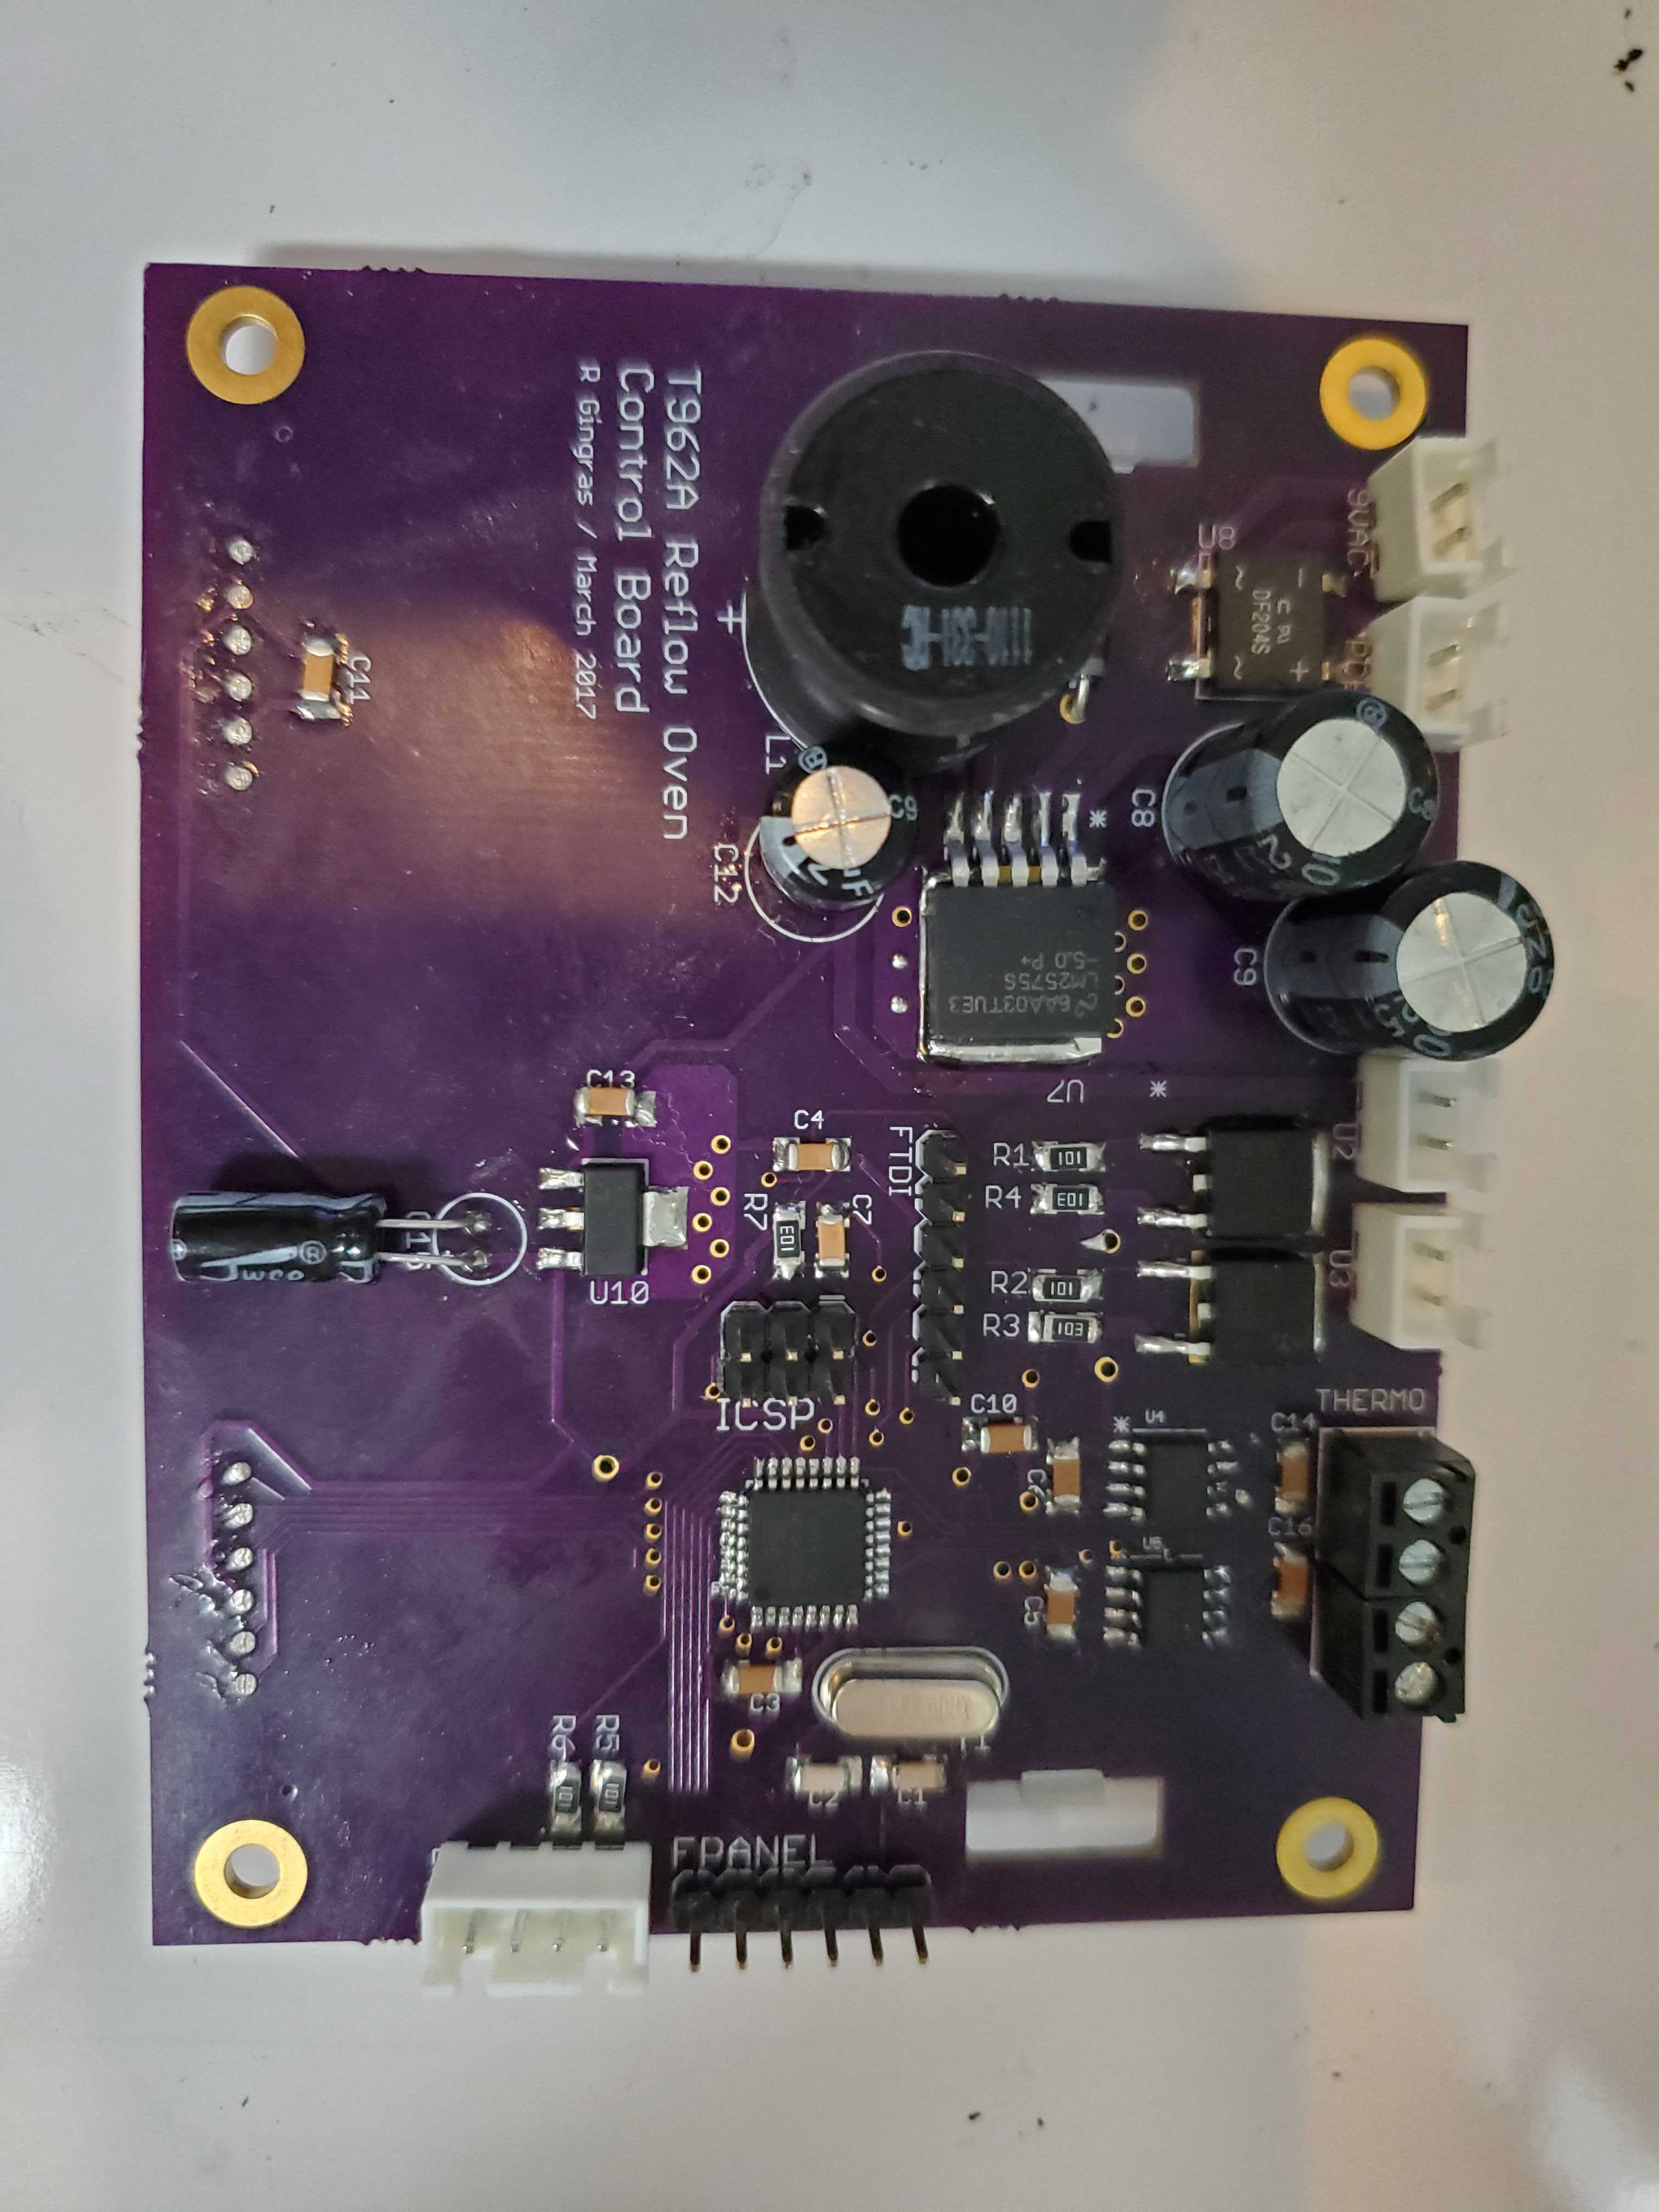
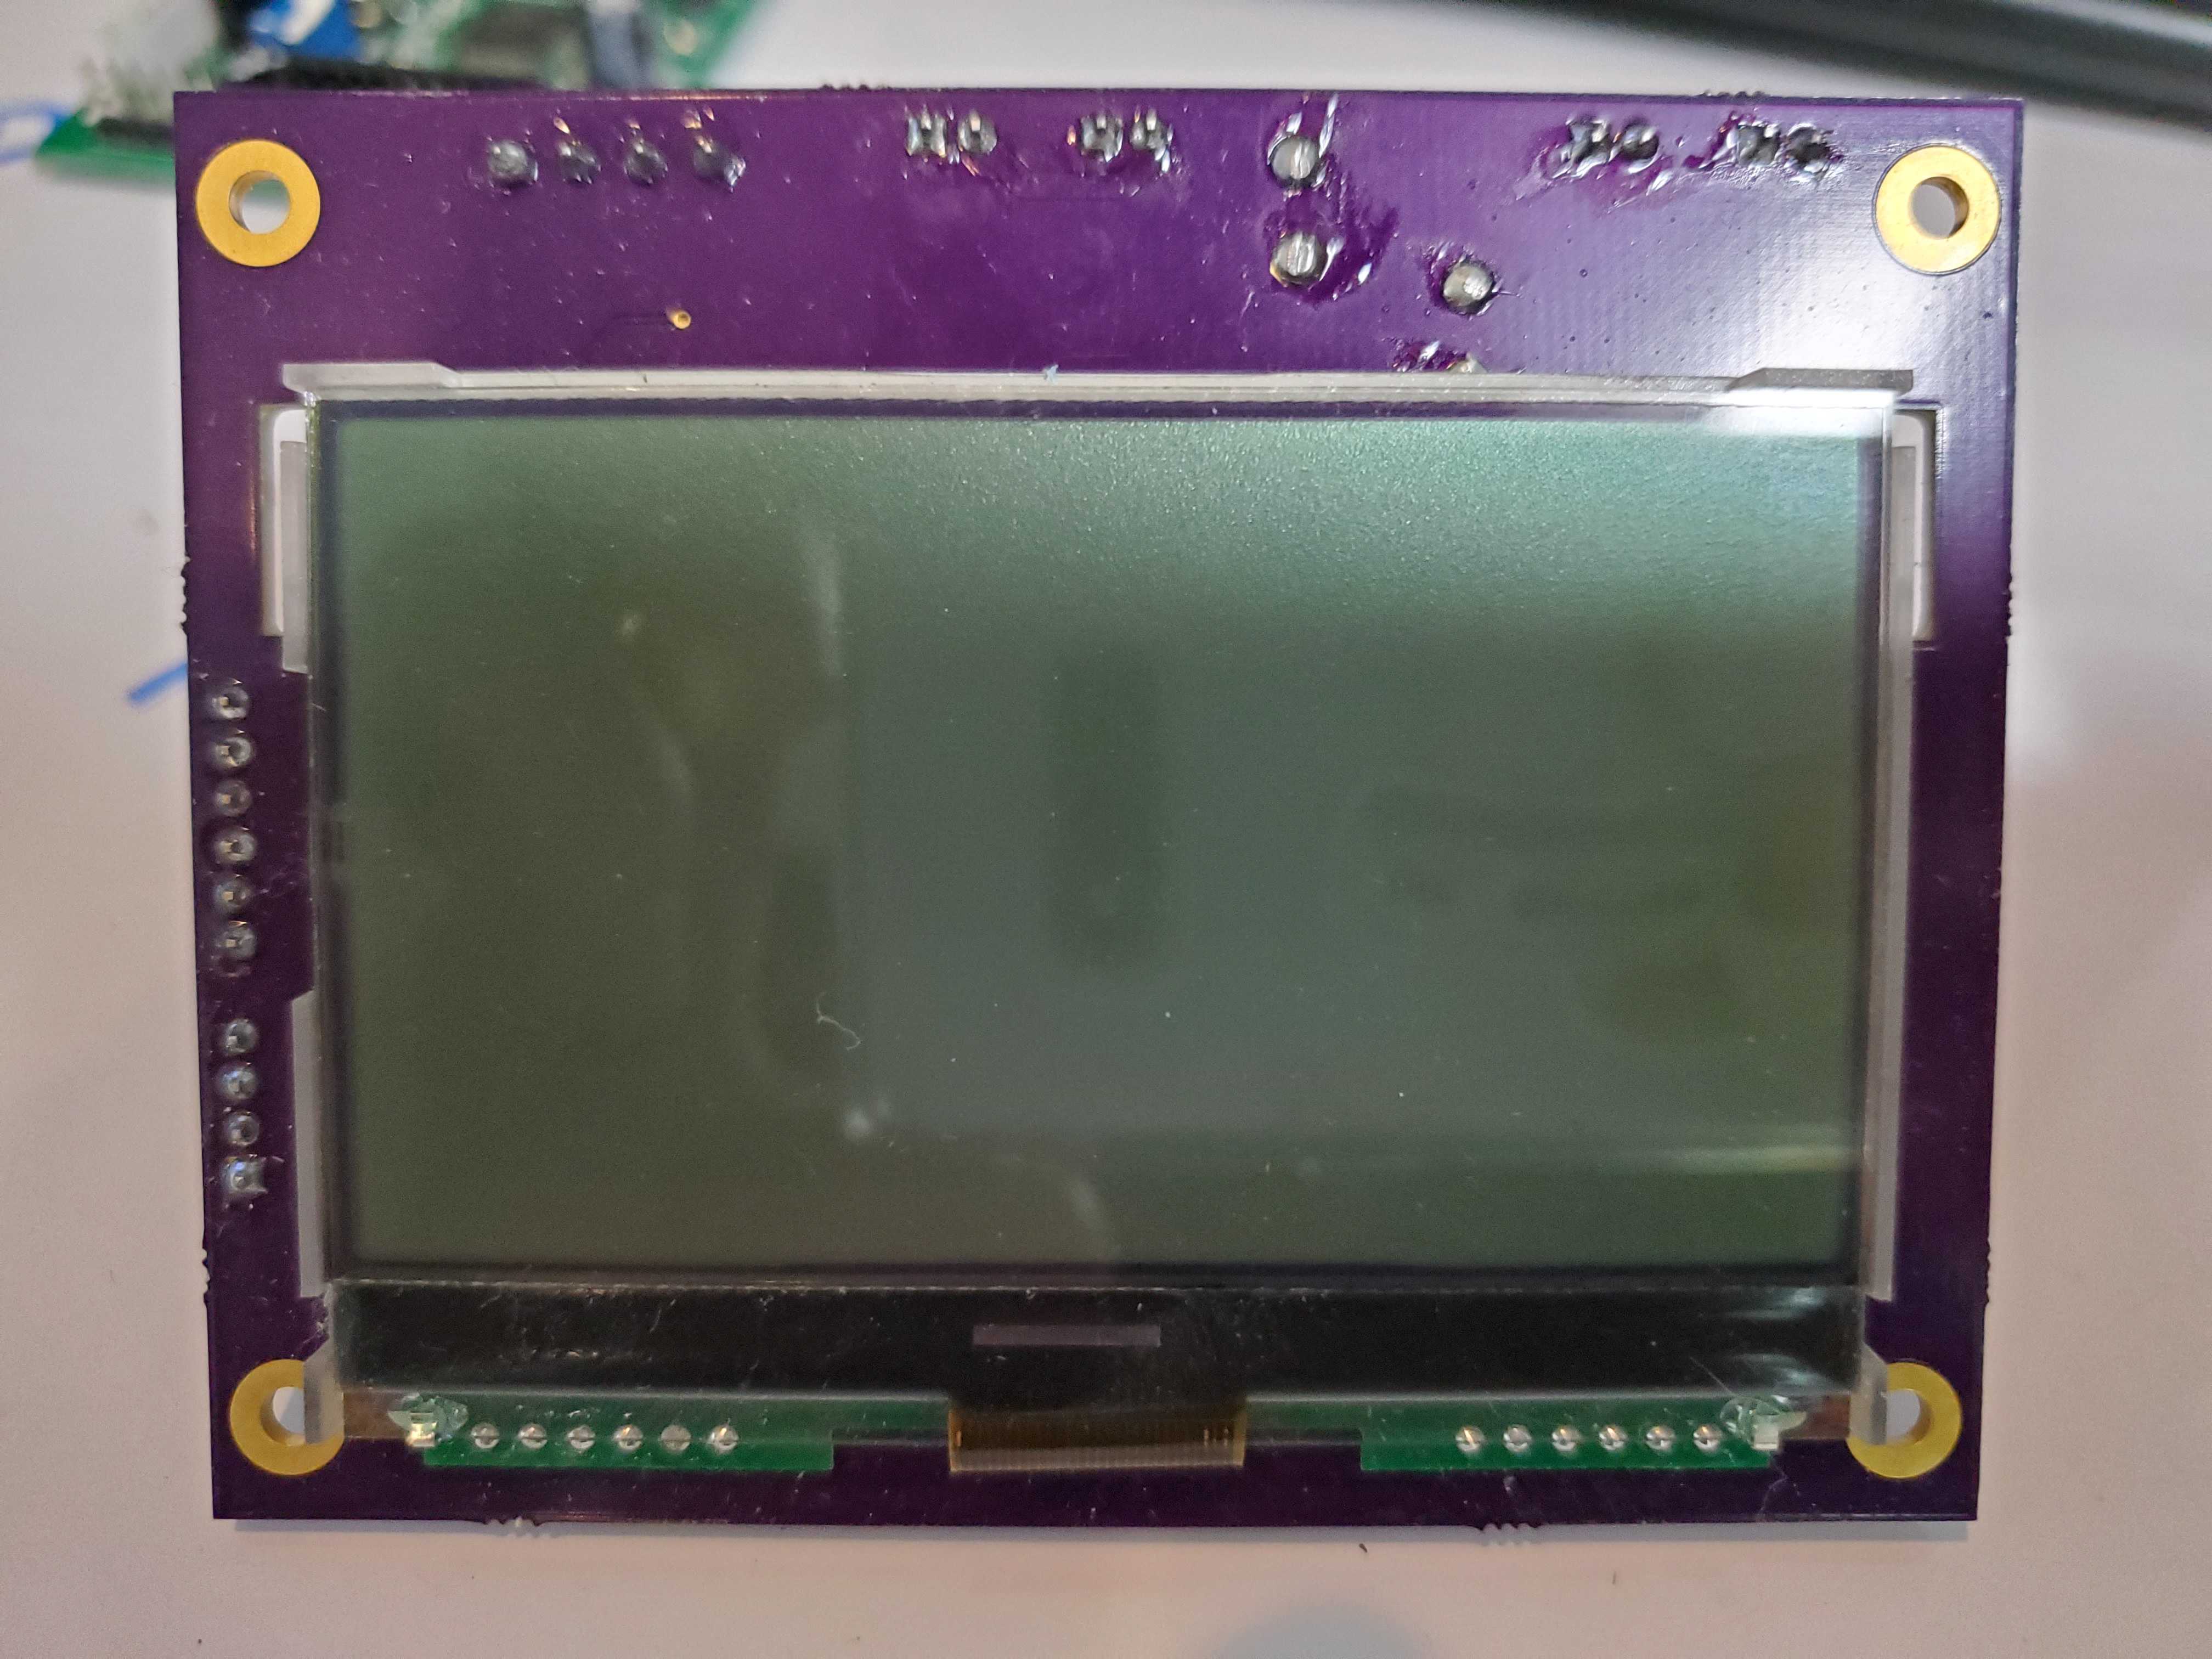
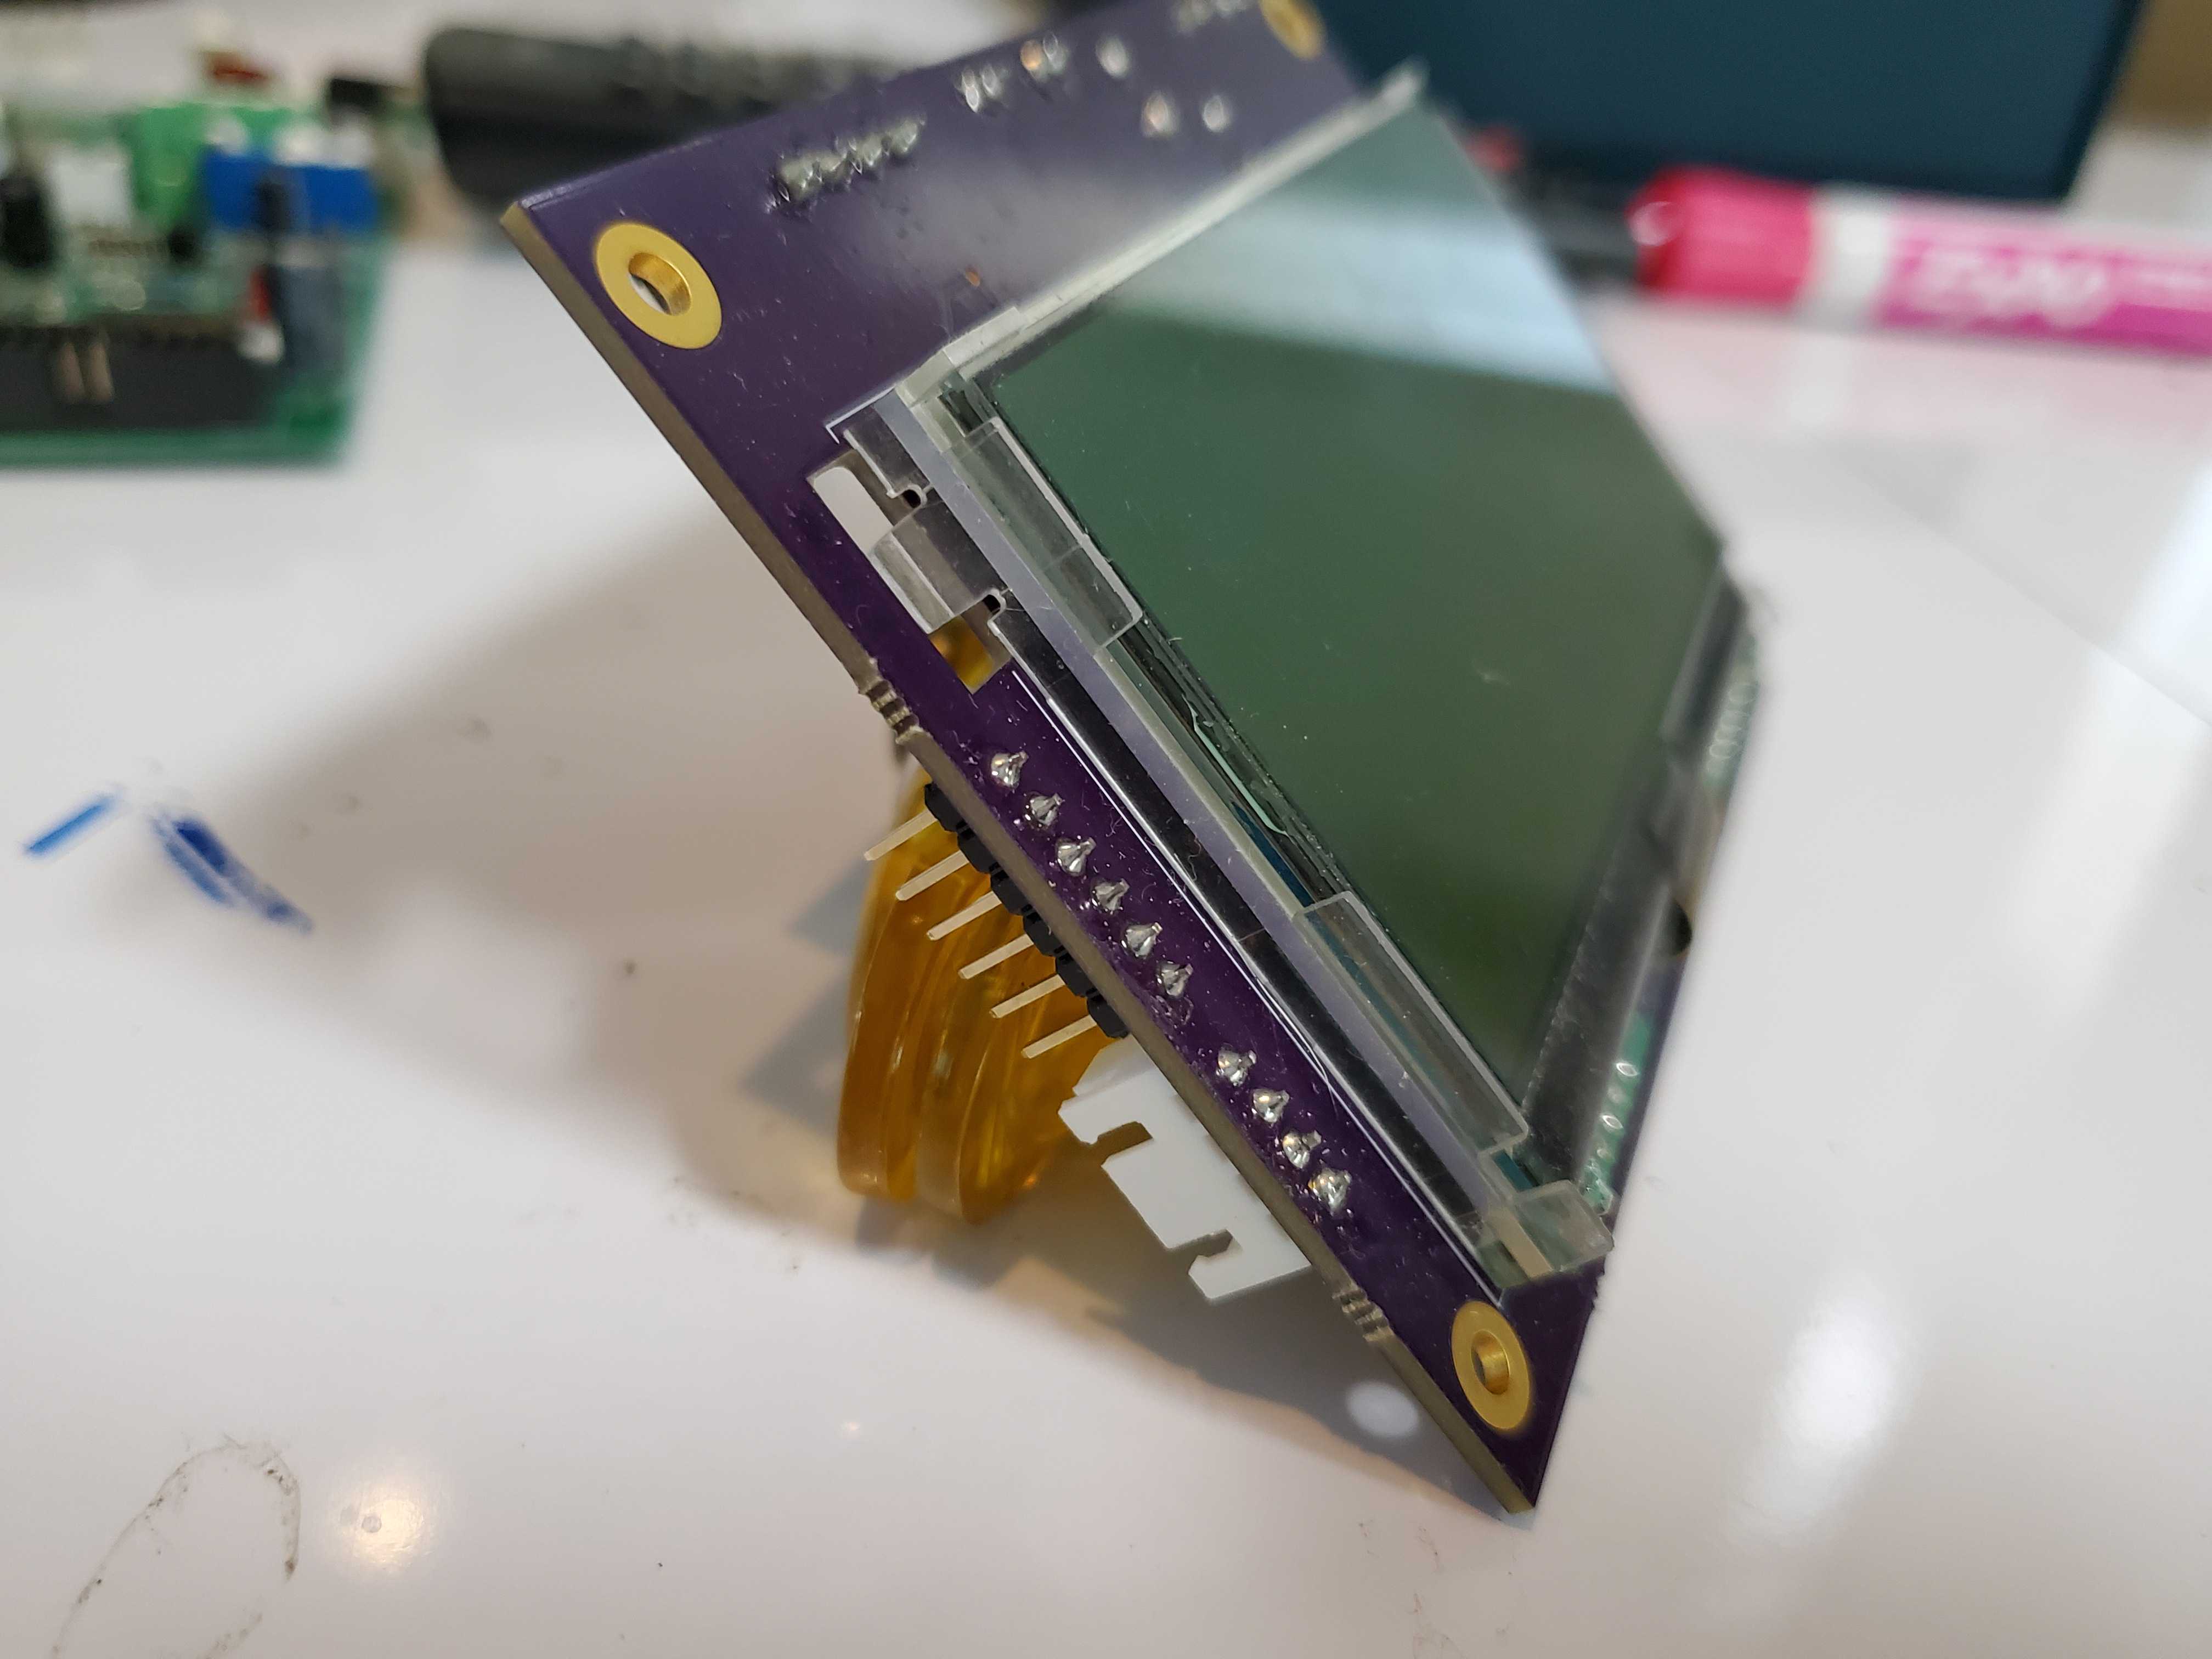
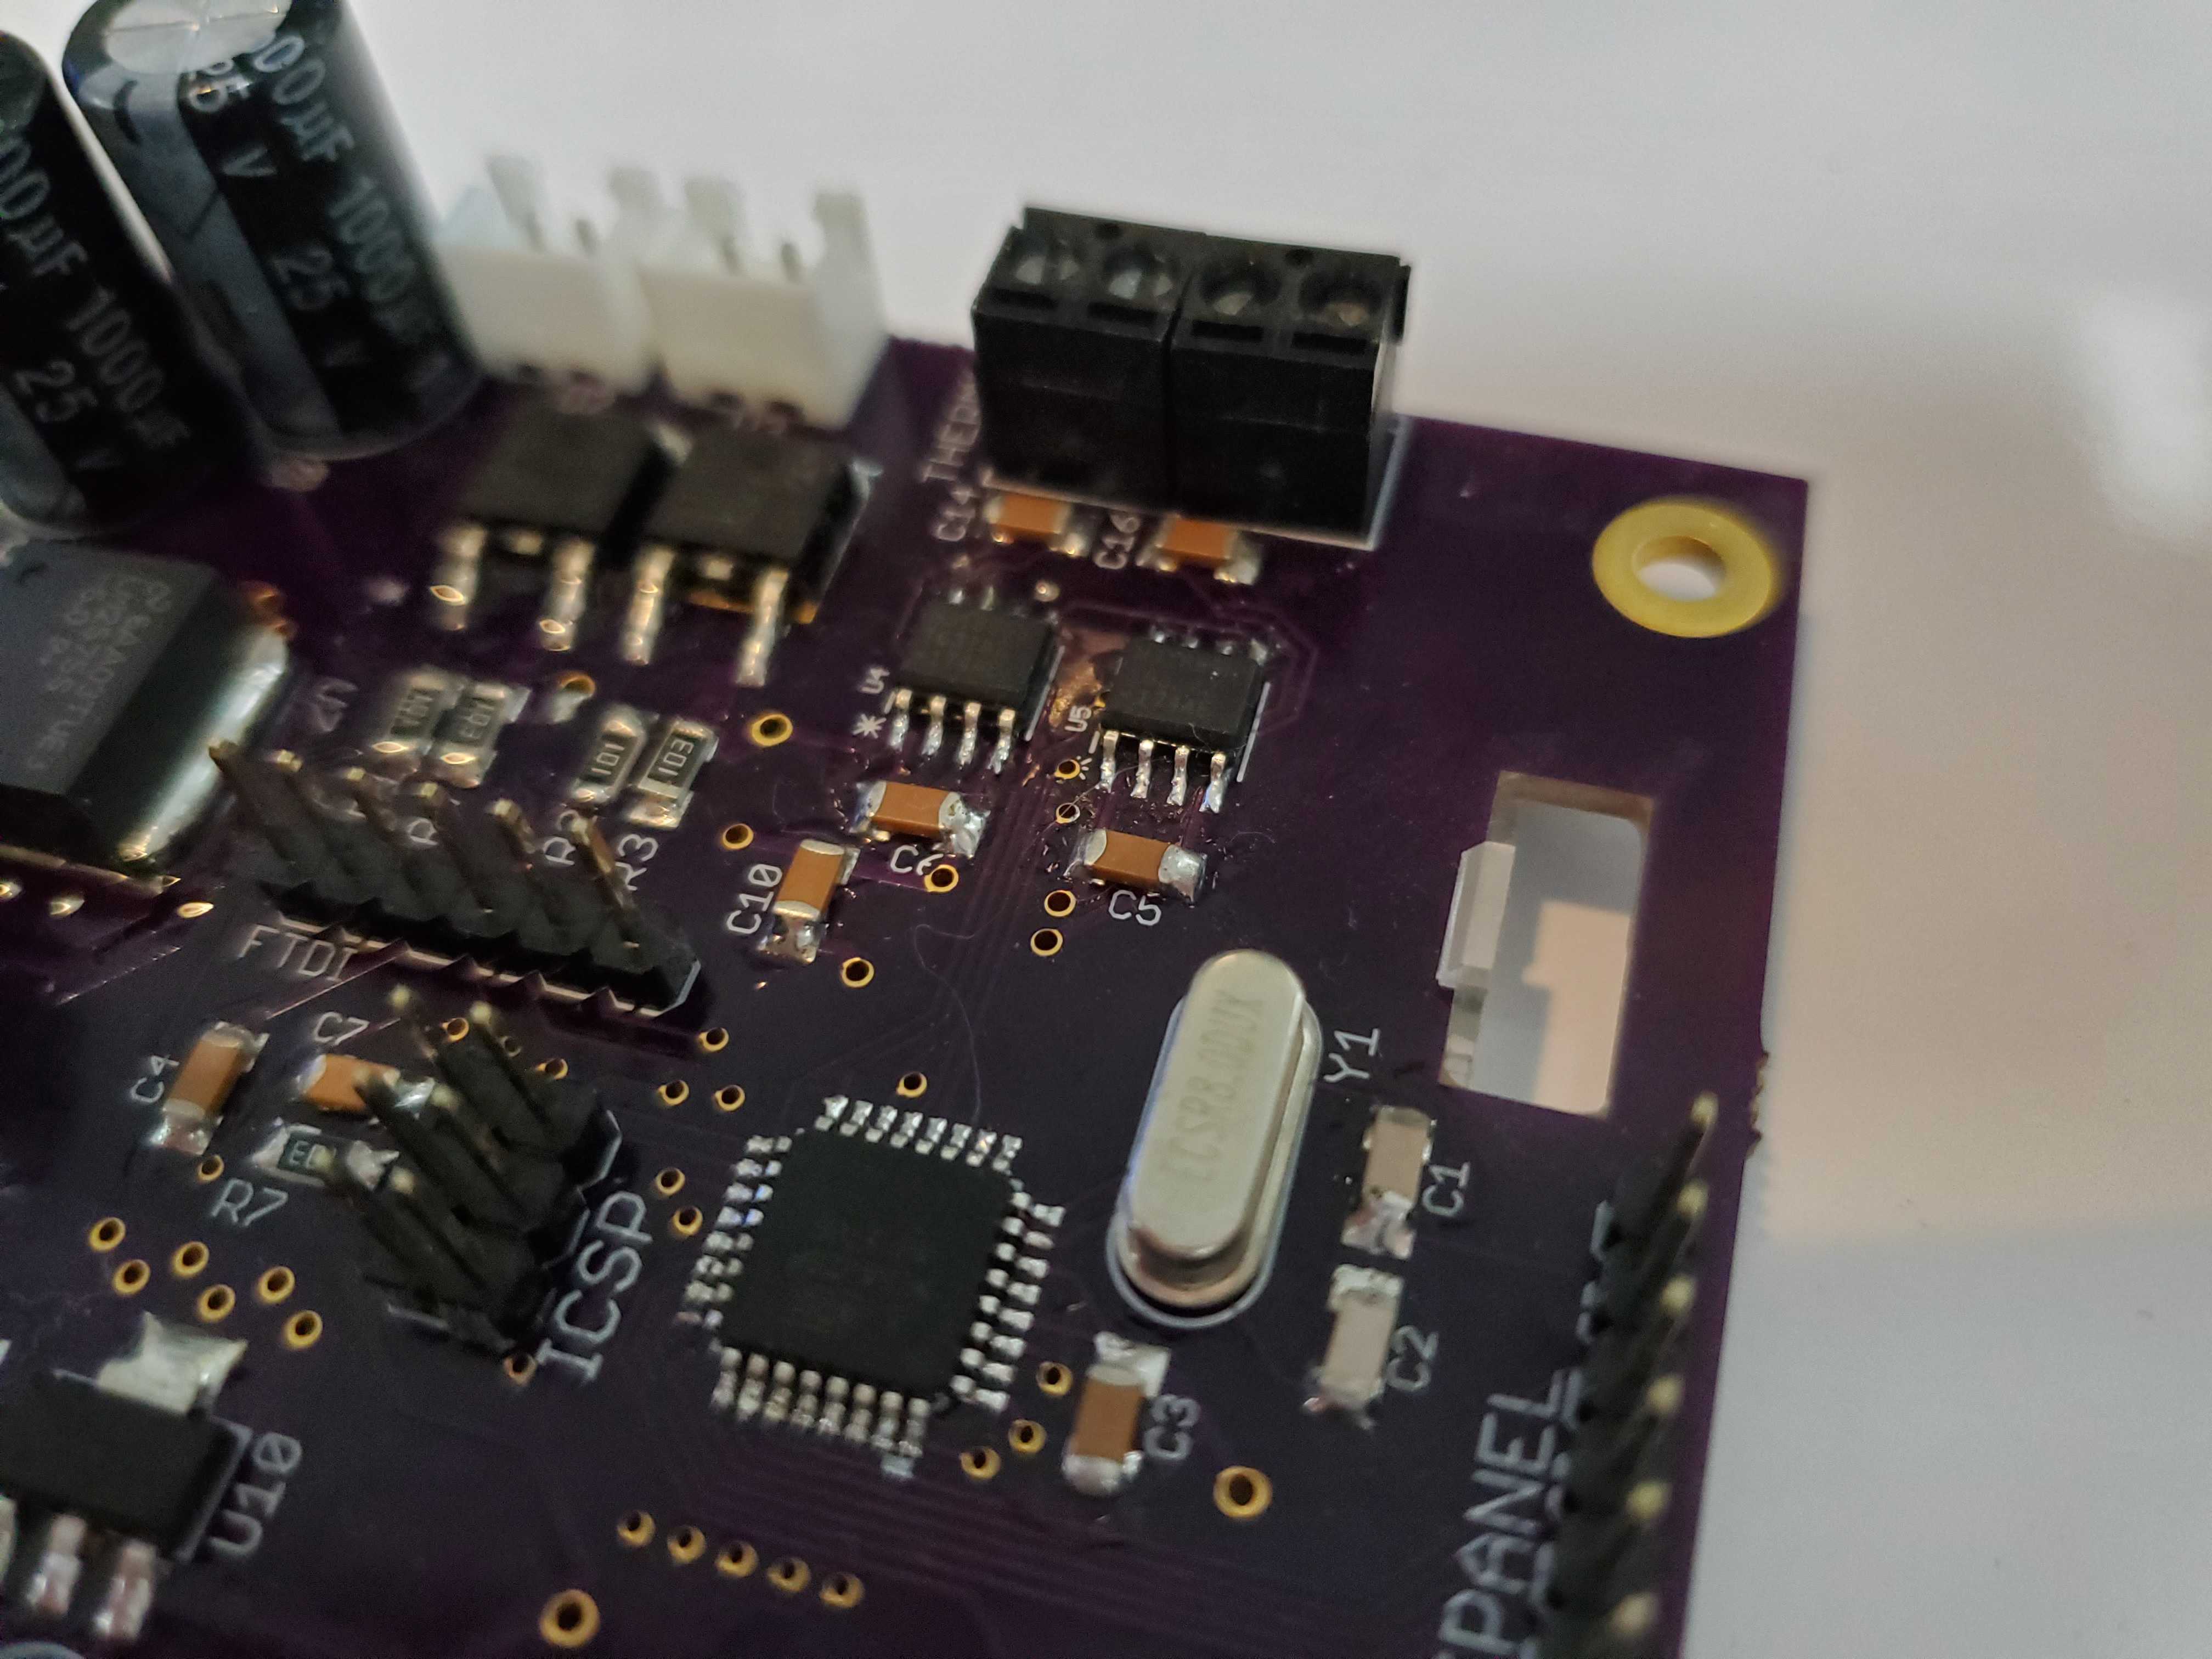
I also created an application that allowed me to store and keep track of different reflow profiles, as well as view the reflow profile as the oven heats and cools.
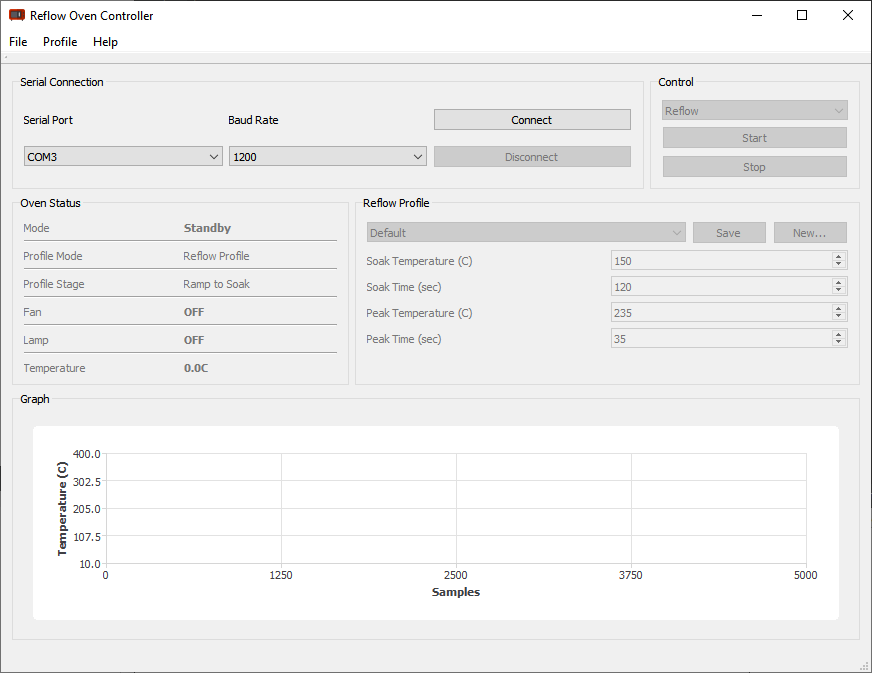
So far the setup has worked very well, but there are several loose ends I haven’t tied up:
- The control software is mostly feature complete but is very rough around the edges, especially charting the temperature. I’d like to also show the projected reflow profile in the chart.
- The oven itself needs an easily accessible USB port on the outside. So far I’ve just been connecting an FTDI cable to the board directly, and routing it through the case of the oven. Not very reliable or safe.
- I haven’t implemented any displays yet, mostly because I’ve been controlling the oven from the computer to monitor the temperature. However I would like to be able to have some push-button modes built in and be able to operate the oven without the computer.
I’ll update this page as I add improvements to the oven or the software.
My Process
My process is evolving as I complete more projects, so this is very subject to change. I usually complete the process in three steps.
Step 1: Mock Assembly
I start by printing a 1:1 image of the board and taping it down on a clean, flat surface that is safe from bumps or accidental disturbances. I then place all the components as if I were assembling the board for real. This ensures that when I move to the next step, I don’t have to hunt for components and verify values.
Step 2: Solder Paste
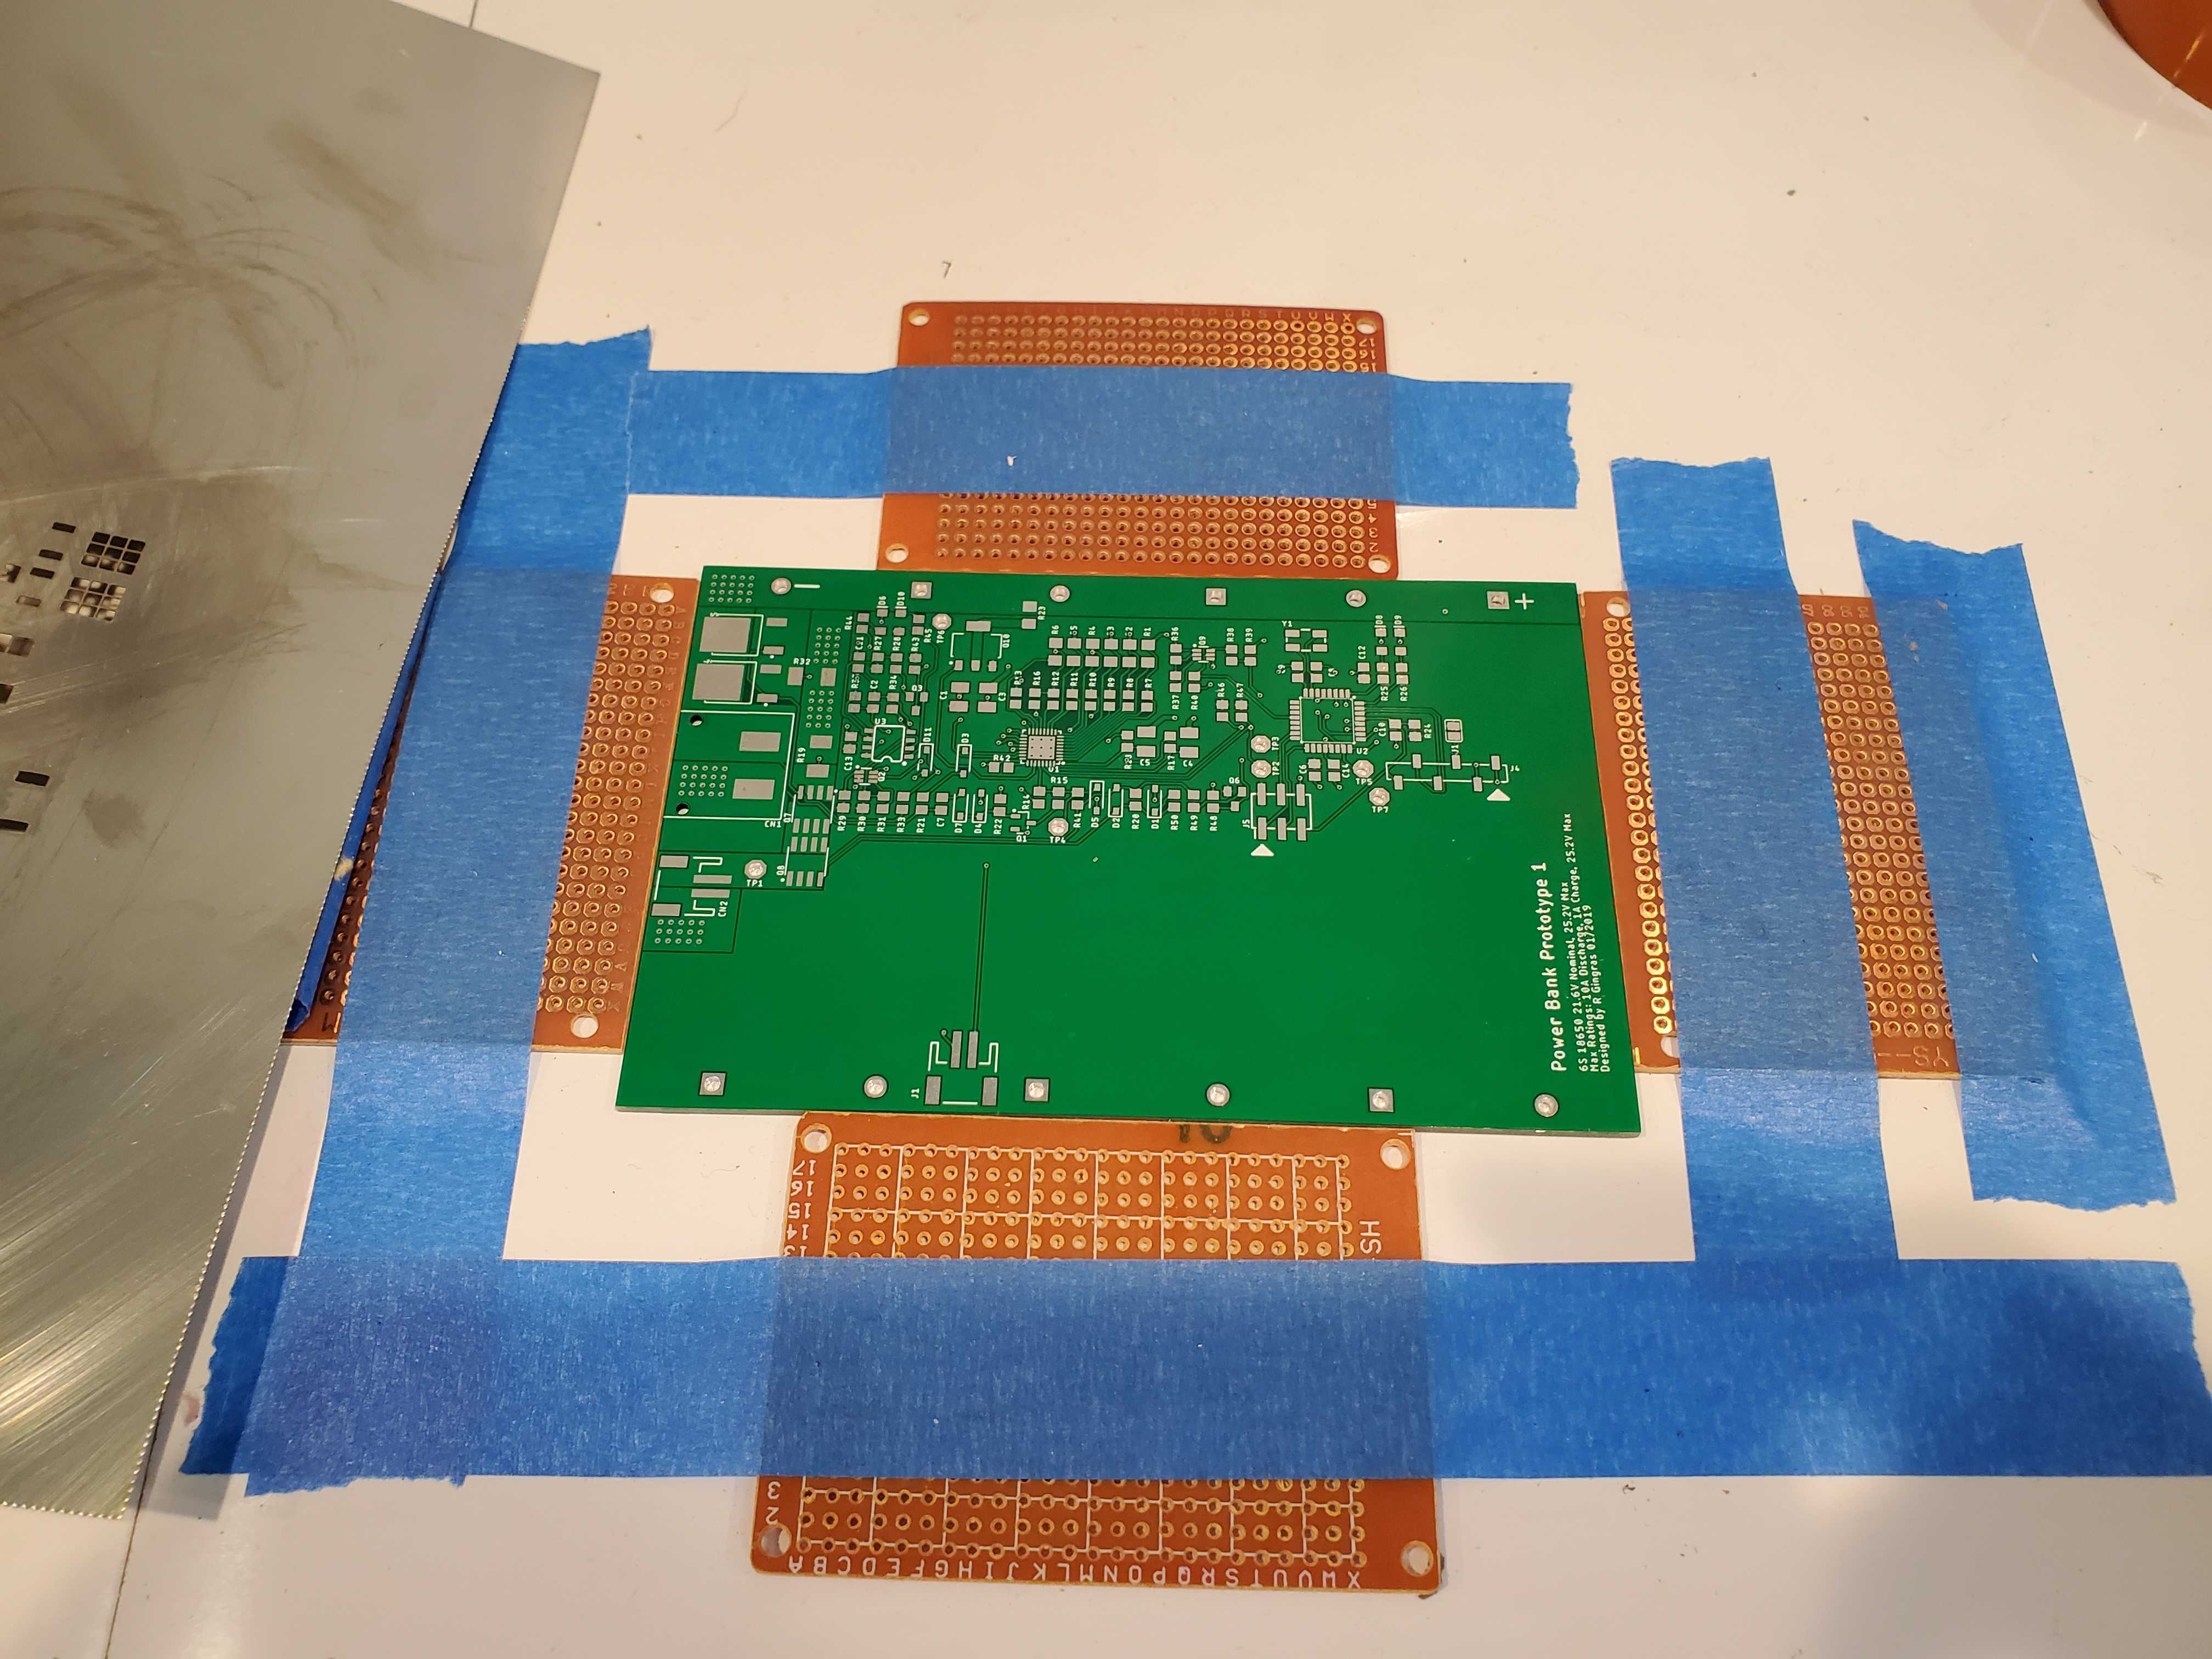
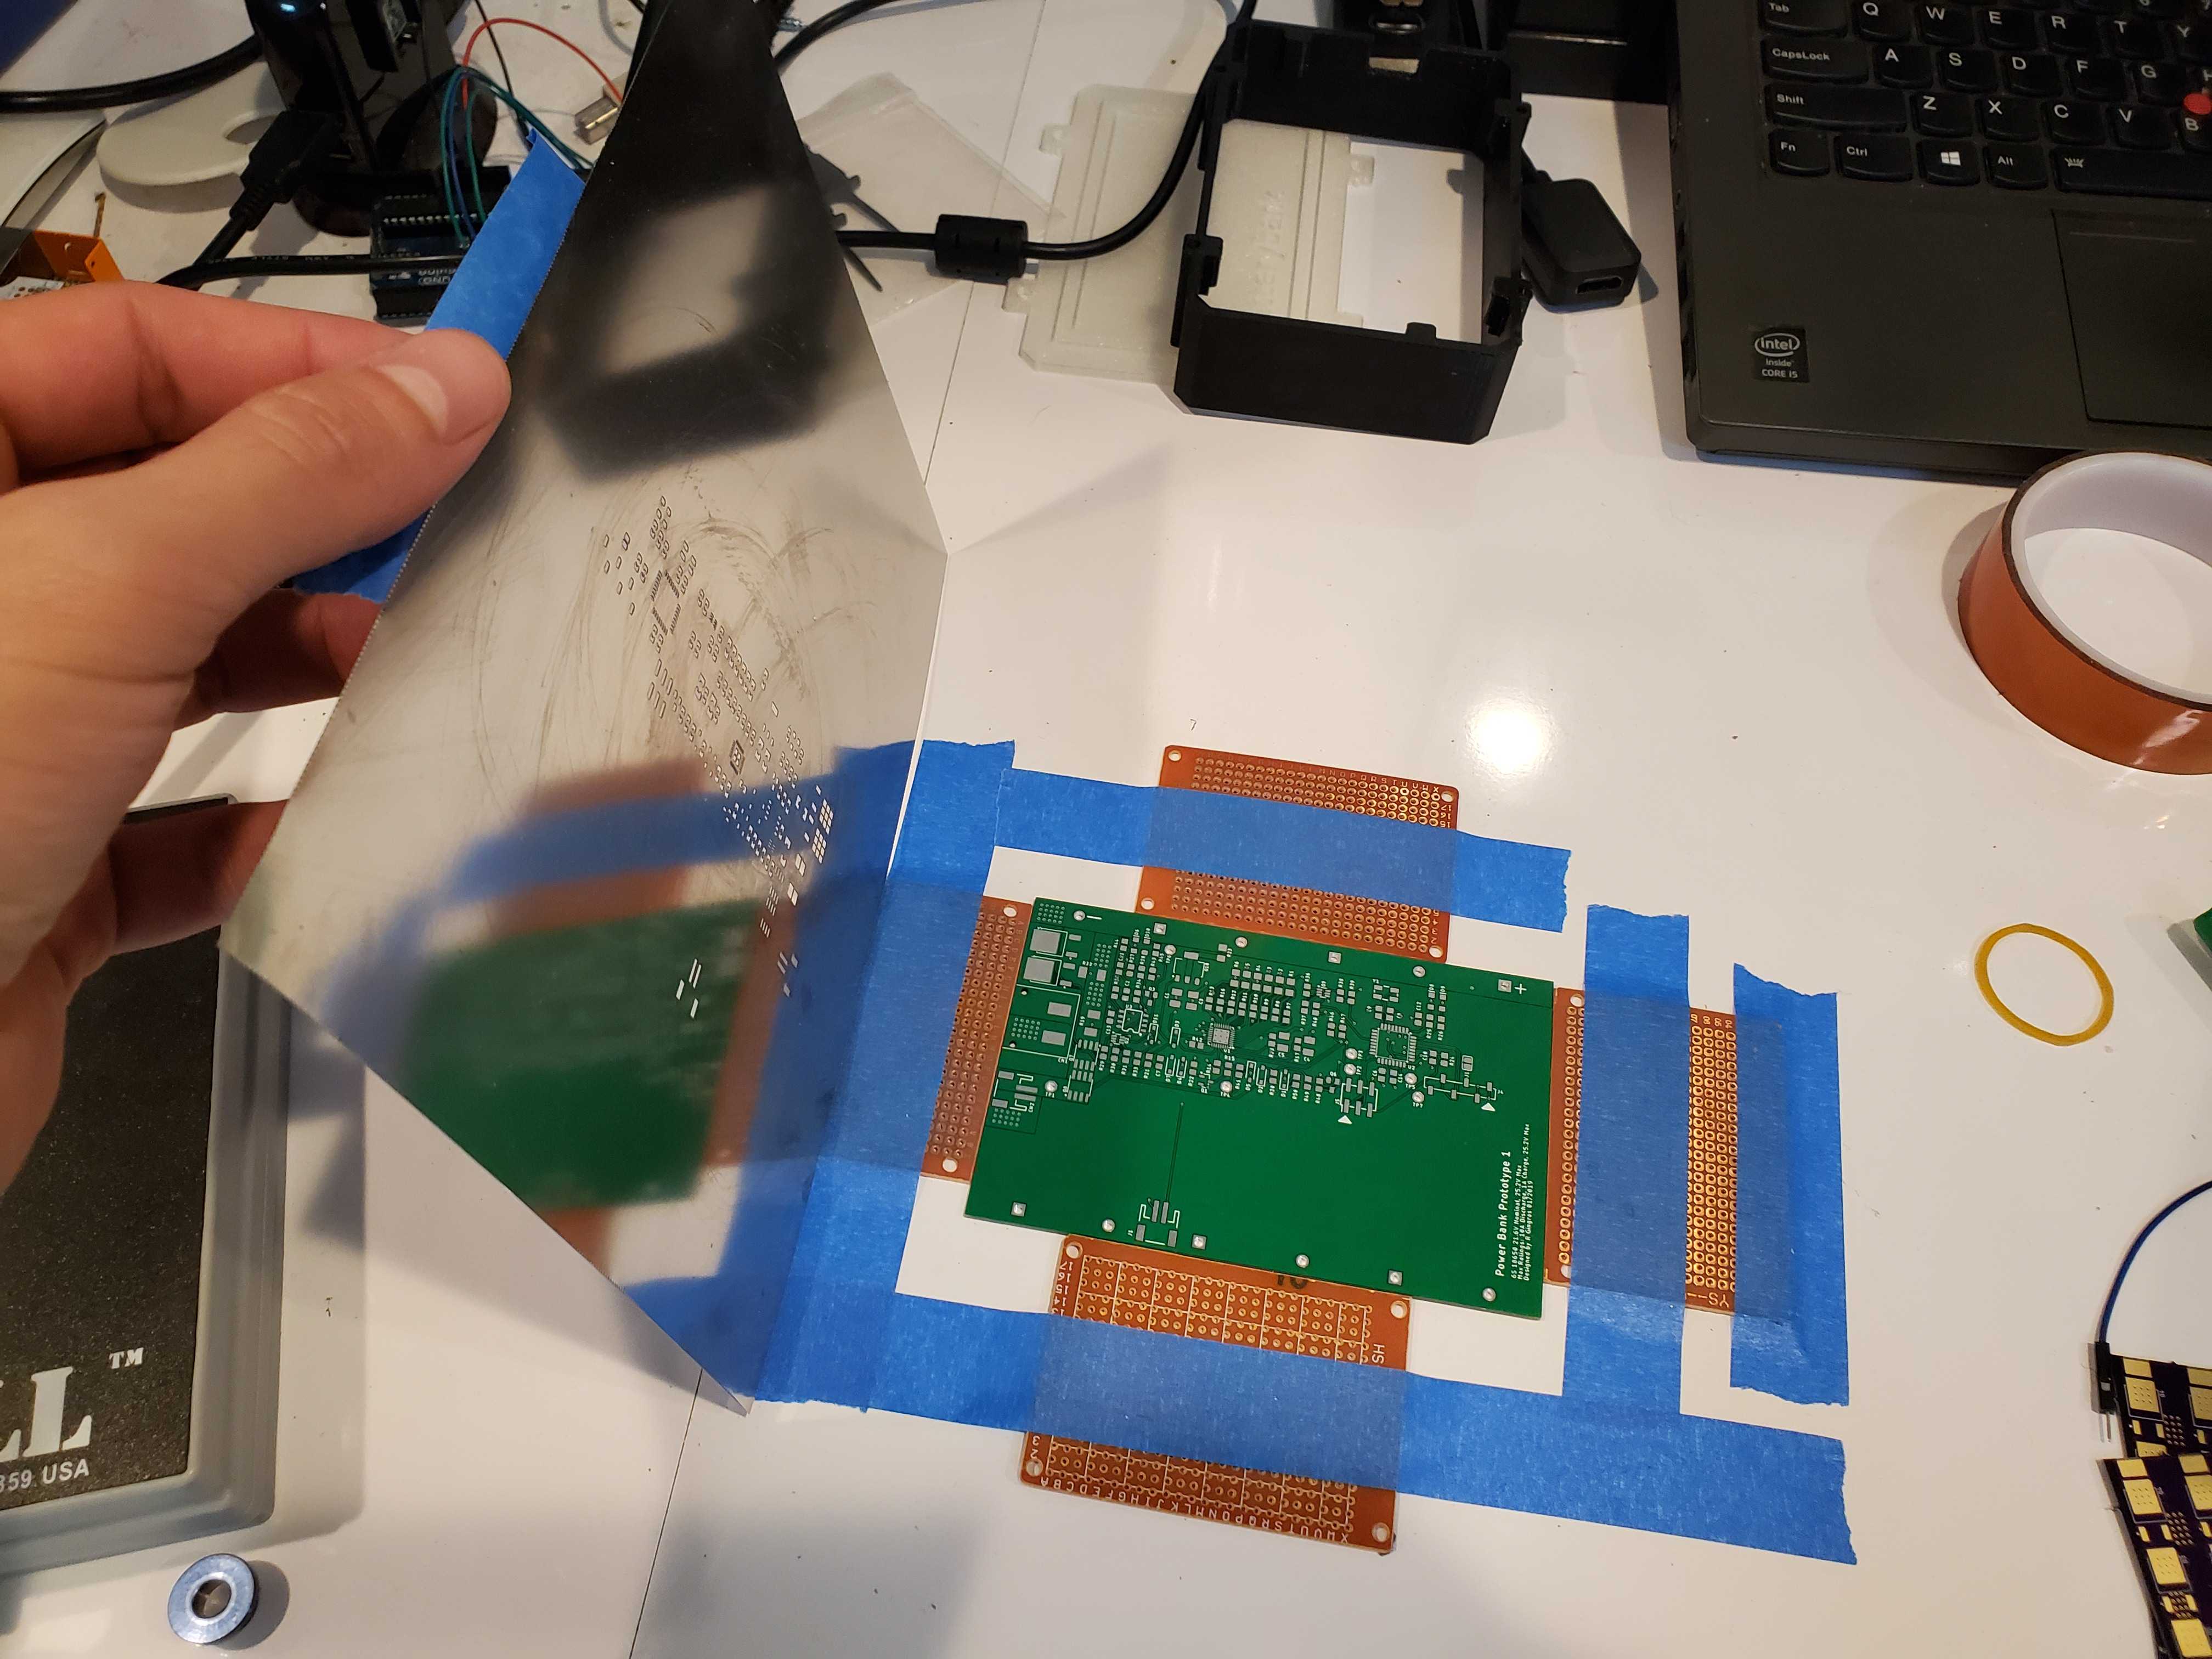
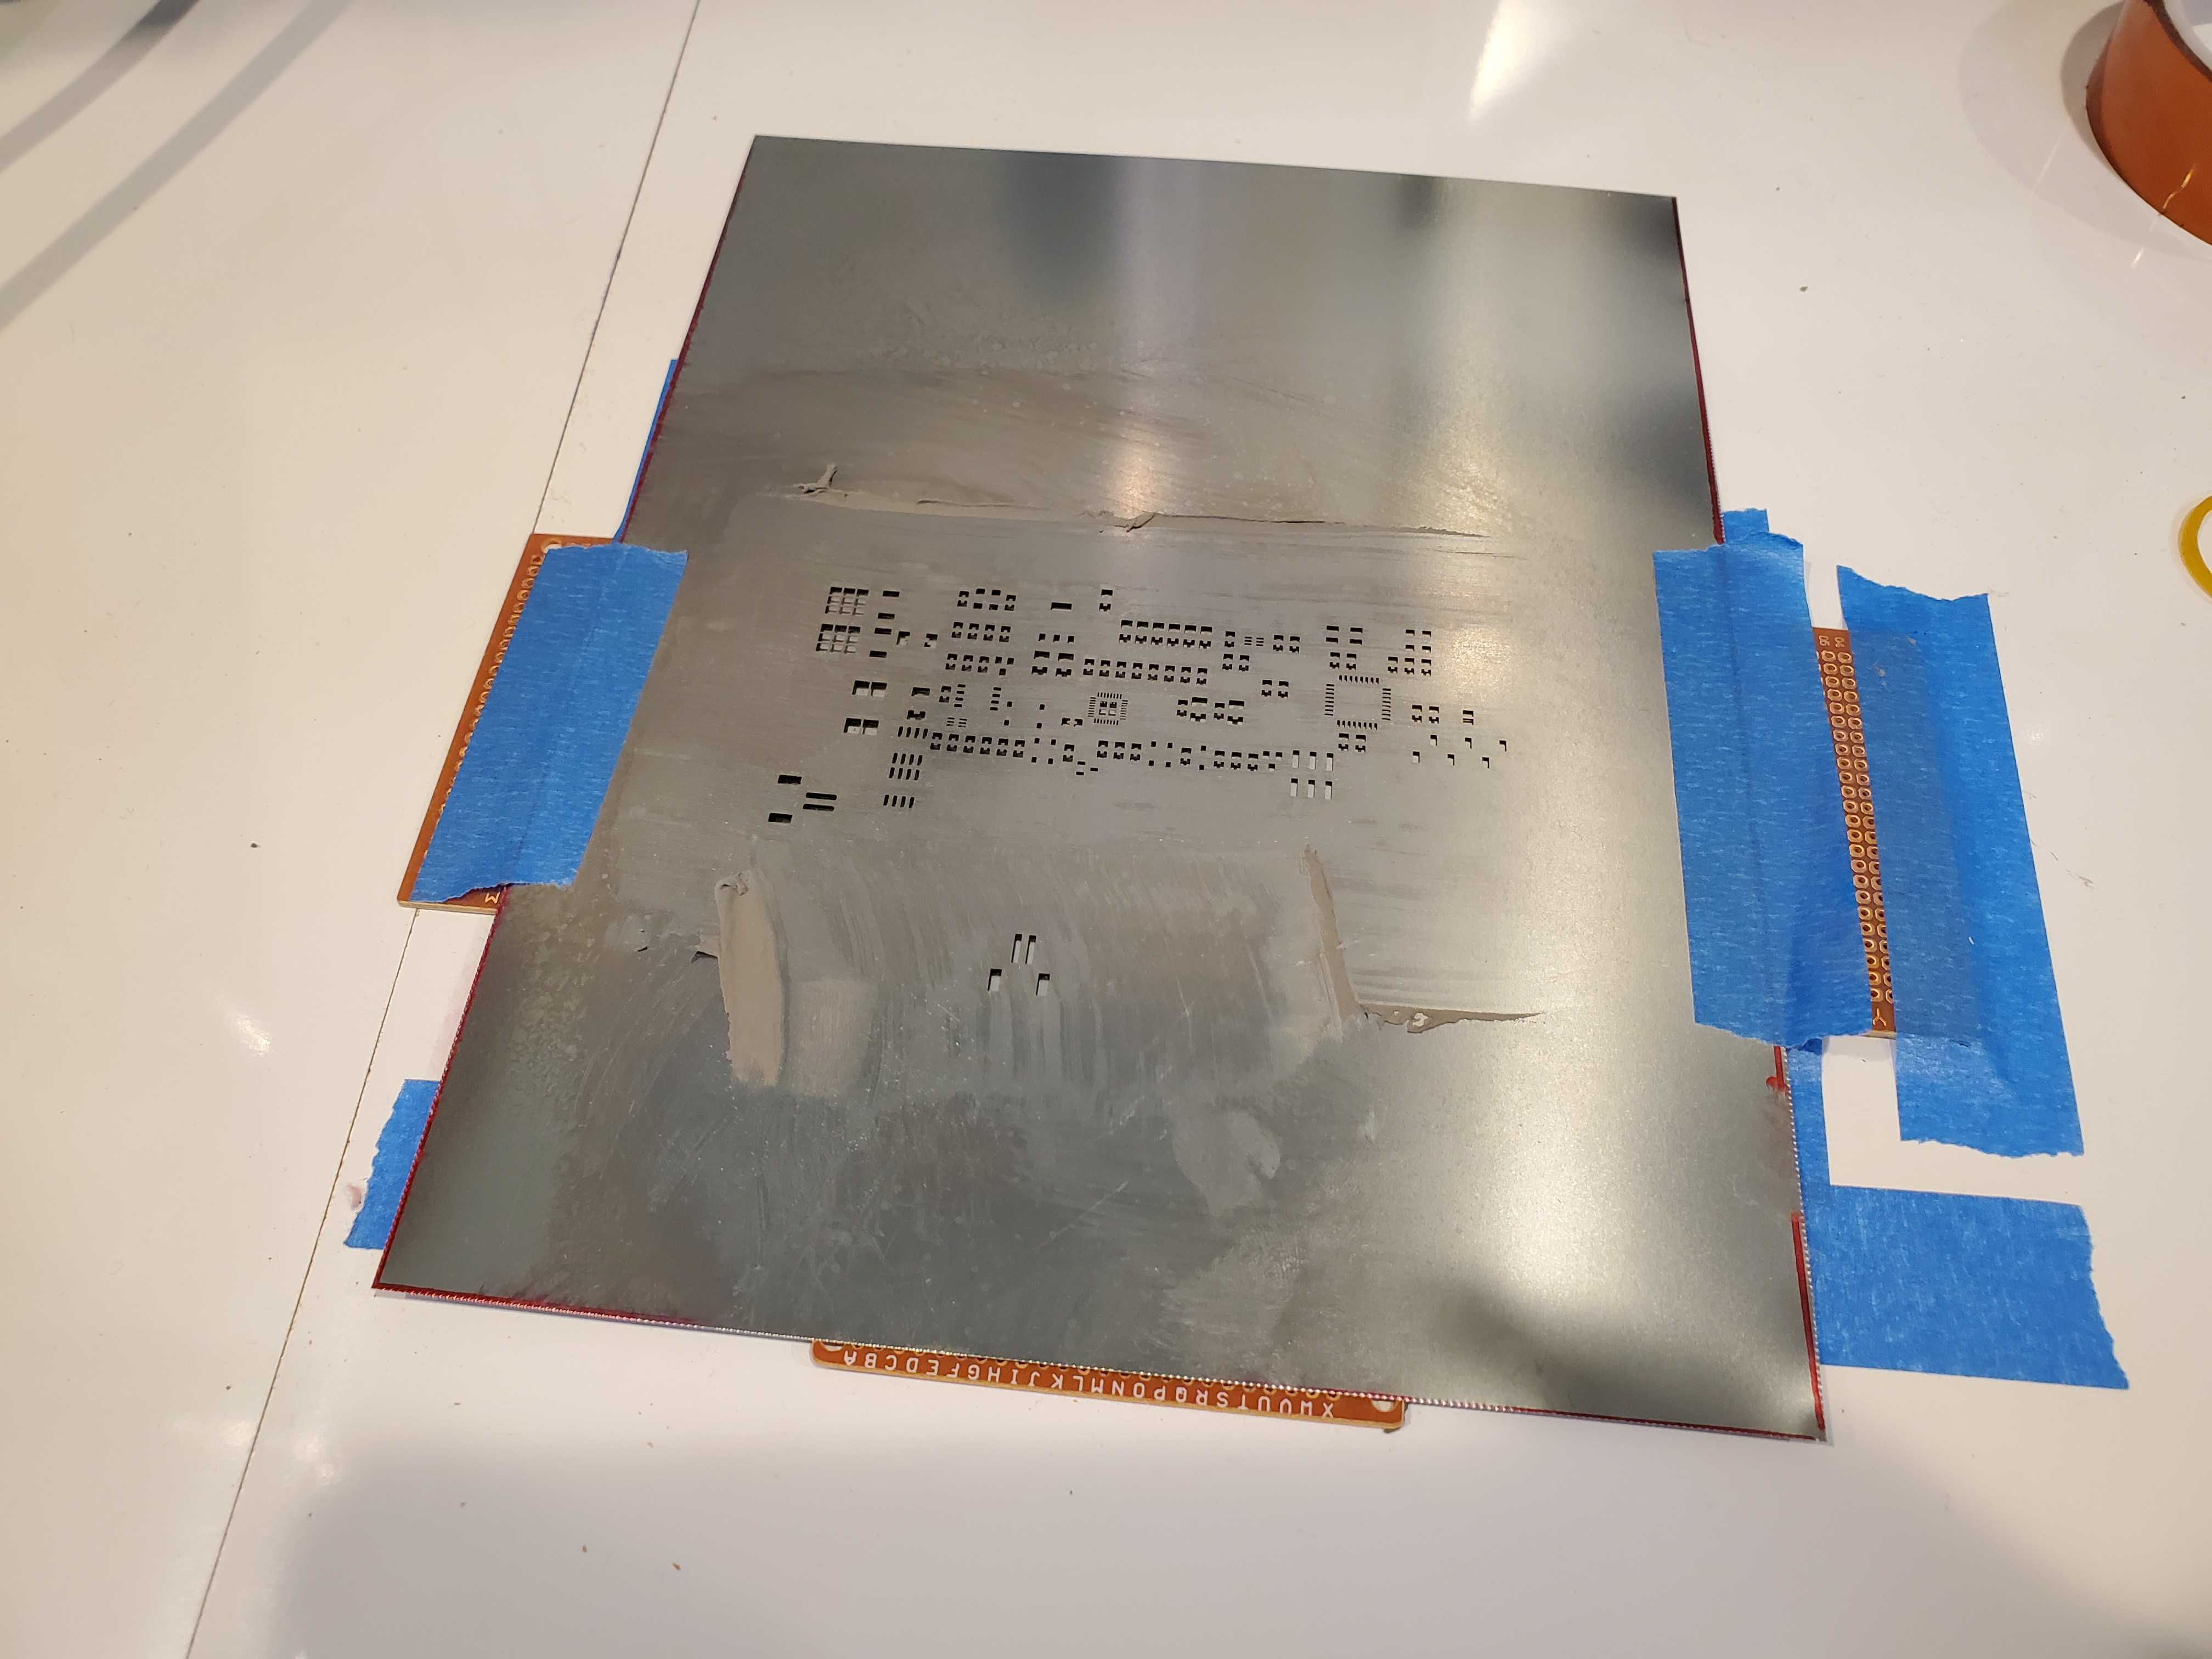
To stencil on the solder paste, I usually use some scrap PCBs or veroboard to create a fixture to hold the PCB in place, and then tape the stencil over top:
After that I lay down a nice glob of paste on one end, and then use a plastic card to spread the paste over the board, pressing down a bit firmly. I then do a quick optical inspection to make sure all the pads have been adequately covered.
Step 3: Assembly and Reflow
Once stenciled, I can quickly transfer the components from the mock board. Once all the pieces are in place, the board goes into the oven and is reflowed according to the reflow profile I have chosen. As soon as it’s cool to the touch, it’s ready to test!
Start Reflowing!
In summary, this was the best decision ever and it makes working with surface-mount components really easy. I’m extremely confident I can handle BGAs now if I had to. Whether or not you choose this particular oven, and whether or not you choose to modify it, adding a reflow oven to your workbench is a must.
Links
- Reflow Oven Firmware on GitHub
- Reflow Oven Controller on GitHub (coming soon)
- Similar Project on Hackaday


Leave a Reply